
How to Move a Home Office: Packing, Disconnecting, and Rebuilding Your Setup

Knowing how to move a home office correctly is something most people underestimate until they're standing in front of a tangle of cables, a dual-monitor setup, an L-shaped desk that won't fit through the door in one piece, and a stack of external hard drives they're terrified to leave to chance. A home office isn't just furniture — it's your livelihood, your data, and in many cases your most expensive collection of equipment under one roof. Moving it the wrong way means downtime, damaged gear, and a setup at the new location that takes days to rebuild instead of hours.
Need professional muscle to handle the heavy lifting while you manage the details? Call 224-404-0069 or get a free labor-only moving quote from Lift & Load today.
Why Home Office Moves Require a Different Approach
A bedroom or living room move is largely about bulk and weight. A home office move is about complexity. You're dealing with fragile screens, proprietary cable setups you spent months perfecting, ergonomic furniture that was assembled in place and may not disassemble cleanly, and equipment whose value isn't just financial — it's operational. A cracked monitor or a corrupted external drive doesn't just cost money; it costs work time at exactly the moment when you can least afford it.
The other factor that makes home office moves more demanding is reassembly. Most furniture can go in any room and be considered "moved." A home office only works when everything is back in the right configuration — monitors at the right height and angle, cables routed cleanly, peripherals connected correctly, and the physical workspace arranged so you can actually be productive. That reassembly process takes planning, not just muscle.
The good news is that a well-structured approach makes all of this manageable. The sections below walk you through the entire process, from the week before the move to the final cable connection at your new location.
Step 1: Photograph and Document Everything Before You Disconnect Anything
Before you touch a single cable or unscrew a single monitor arm, photograph your entire setup from multiple angles. This sounds obvious, but most people skip it and spend hours trying to reconstruct cable routing they thought they'd remember. Take photos of:
- The back of your computer tower or docking station — every port and what's plugged into it
- Your cable routing — how cables run under the desk, through cable management trays, or along wall channels
- Monitor arm positions and angles — height, tilt, and swivel settings if your setup is dialed in
- Your full desk layout from above — where each peripheral sits relative to the keyboard and monitors
- Any smart home or networking equipment — router, switch, or NAS positions and their cable connections
These photos cost you nothing and can save you two to three hours of troubleshooting at the other end. Store them somewhere accessible during the move — your phone's camera roll or a shared cloud folder works perfectly.
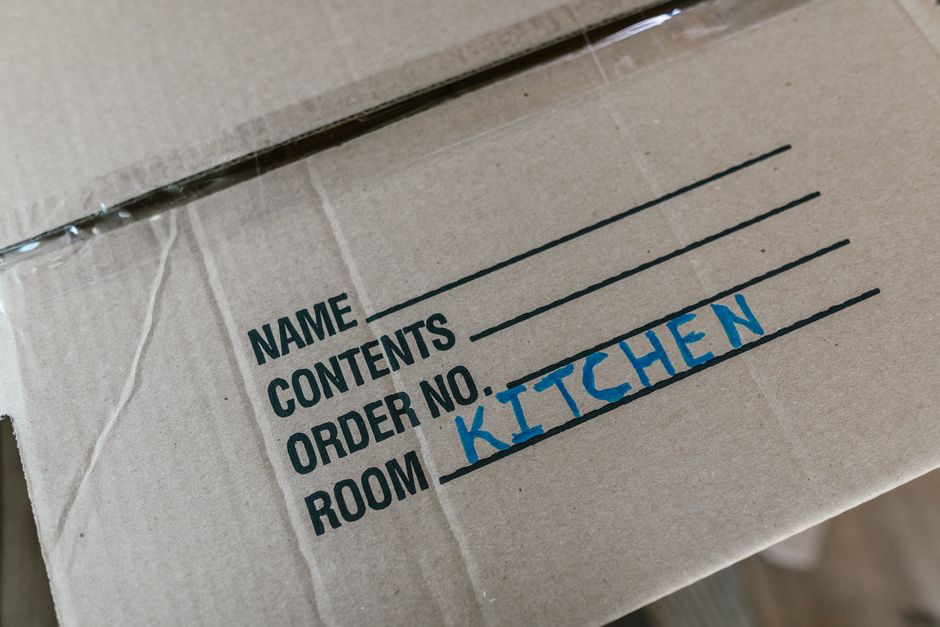
Label Every Cable Before You Pull It
Once you have your photos, label every cable before disconnecting it. Colored electrical tape, adhesive labels, or even masking tape with a marker all work. Label both ends of each cable with a number or letter and keep a simple key. A tangle of ten identical black cables in a box is one of the most common and most avoidable home office moving disasters.
Step 2: Pack Your Electronics in the Right Order
Electronics are the most sensitive items in any home office and deserve a packing sequence of their own. The general rule is to pack in reverse order of importance — the things you need up and running first should be the last items packed and the first items unloaded.
Monitors
If you kept the original boxes for your monitors, use them — they're designed specifically for those screens and provide the best protection. If you don't have original packaging, wrap each monitor in moving blankets or foam padding and pack it vertically (never flat) in a box with adequate padding on all sides. Screens are far more vulnerable to pressure damage when laid flat than when stood upright. Mark the box clearly: FRAGILE — MONITOR — THIS SIDE UP.
Computers and Towers
Desktop towers should be transported upright whenever possible. If your machine has a liquid cooling system, check the manufacturer's guidance — some require the machine to remain upright during transport. Remove any disc drives or optical media before packing. Pack the tower in its original box if available, or wrap it in moving blankets and secure it so it cannot shift inside the box.
Laptops and Small Devices
Laptops should always travel with you in a padded bag or case — never in the moving truck. The same goes for external hard drives, SSDs, and USB flash drives containing important data. These are small enough to carry personally and valuable enough that they should never be left to the chance of a bumpy ride in a truck.
Cables, Peripherals, and Accessories
Coil cables loosely (not tightly wound) and secure them with velcro ties or twist ties — never rubber bands, which deteriorate and can damage cable coatings. Group cables by device using your labeling system and bag them together. Keyboards, mice, webcams, and speakers can be wrapped in packing paper or bubble wrap and packed together in a clearly labeled box.
Step 3: Disassemble Your Desk and Office Furniture Properly
Home office furniture ranges from flat-pack desks that disassemble cleanly to solid hardwood executive desks that need to be moved in one piece. Knowing which category your furniture falls into before moving day matters — and for L-shaped or corner desks, it can determine whether the piece can exit the room at all.
L-Shaped and Corner Desks
Most L-shaped desks are built from two separate sections joined at a center support. Disassembling them into their two component pieces is almost always necessary to navigate hallways and doorframes. Find the connecting bolts or brackets at the joint, remove them, and keep all hardware in a labeled bag taped to one of the pieces. If your desk was assembled in place and you've lost the instructions, search the manufacturer's website by model number — most post assembly guides online.
Standing Desks
Electric standing desks are heavier than they look, particularly the motorized base. Most standing desk tops detach from the frame with four to six bolts. Separate the top from the base before moving — attempting to carry a fully assembled electric standing desk through a doorway is a two-person job at minimum and carries real risk of damaging the motor housing. Keep the control pad and power cables together with the base.
Bookshelves and Filing Cabinets
Remove all contents from bookshelves before moving — a fully loaded bookshelf is one of the heaviest items in any home, and carrying it loaded risks both injury and structural failure. Filing cabinets should have their drawers emptied or locked; full drawers can slide open unexpectedly during a carry and shift the cabinet's center of gravity dangerously.
Step 4: Stage Your Office for the Moving Crew
If you've booked a labor-only moving crew, the way you stage your home office directly affects how efficiently they can work. A well-staged office means faster load times and fewer opportunities for mishandling. Here's what to have done before the crew arrives:
- All electronics packed in labeled boxes — nothing loose on the desk
- All furniture fully disassembled — desk sections separated, monitor arms removed from desks
- Hardware bags taped to the furniture they belong to — never loose in a general box
- A clear path from the office to the exterior door — no cables on the floor, no boxes blocking the hallway
- Fragile boxes clearly marked and grouped together so the crew knows how to load them
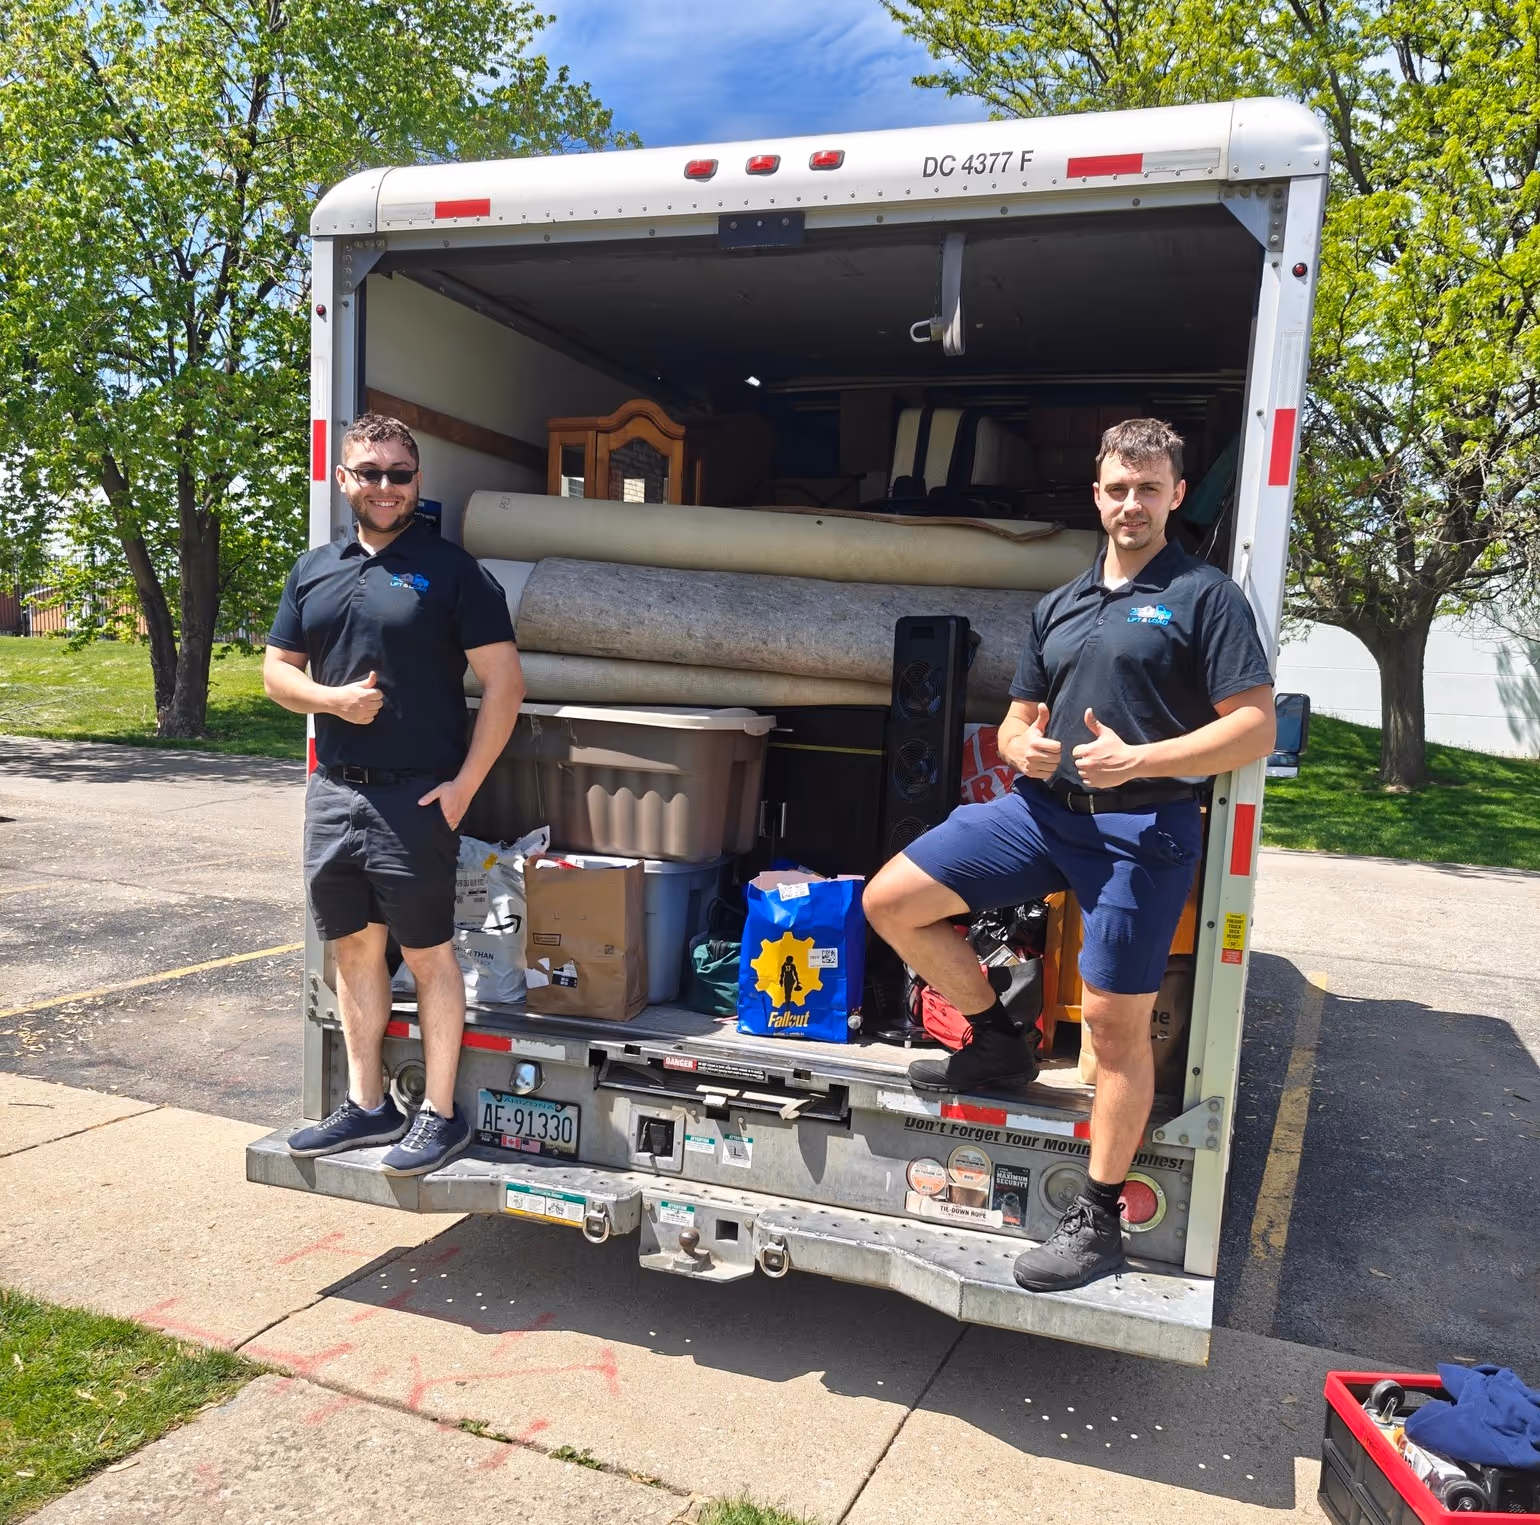
A professional labor crew is skilled at carrying and loading — they move fast and protect your belongings when given the right setup. Your job is to make sure everything is ready for them to carry, not ready to be figured out.
Step 5: Reassemble and Reconnect at Your New Location
The reassembly phase is where the documentation work you did at the start pays off. Start with the largest furniture pieces first — get the desk reassembled and in its final position before you unpack any electronics. There's no point setting up monitors if you might need to move the desk again.
Once the furniture is in place, unpack and position equipment before connecting anything. Get every device on the desk in its approximate final location before you run a single cable. Then use your reference photos to reconnect cables in the correct sequence, starting with the computer and working outward to monitors, peripherals, and networking equipment.
Rebuilding Your Network Connection
If your home office depends on a wired ethernet connection for reliability, plan ahead for your new space. Know where the ethernet wall jacks are located before moving day — if none are conveniently positioned near your desk, you may need a longer cable run or a powerline adapter as a temporary solution while you sort out the permanent setup.
With your documentation photos, labeled cables, and a clear reassembly sequence, most home offices can be fully operational again within a few hours of the furniture being placed — not the days it can take when the process is approached without a plan.


FAQs
Laptops, external hard drives, SSDs, and any storage devices containing important data should travel with you personally — not in the moving truck. These items are small enough to carry and sensitive enough that the vibration, temperature fluctuation, and potential shifting inside a truck poses unnecessary risk. Pack them in a padded bag and keep them in your vehicle.
Most L-shaped desks are made of two sections connected at a center joint. Disassemble them into their two separate pieces before attempting to move them — this makes navigating doorframes and hallways far easier and reduces the risk of wall damage. Locate the connecting bolts or brackets at the joint, remove them, and store all hardware in a labeled bag taped to one of the sections.
Use the original manufacturer's box if you have it — it's designed specifically for your screen. If not, wrap the monitor in moving blankets or foam padding and pack it vertically (standing upright), never flat. Laying a monitor face-down or flat significantly increases the risk of pressure damage to the screen. Mark the box FRAGILE and THIS SIDE UP clearly on all sides.
Yes — a labor-only crew is well-suited for home office moves, particularly for handling heavy furniture like standing desks, large monitors, and filing cabinets. Your role is to have everything packed, labeled, and disassembled before they arrive. The crew handles the physical carrying, loading, and placement at your new location. Having your office fully prepped before they show up keeps the job efficient and minimizes the time you're billed for.
Yes — a labor-only crew is well-suited for home office moves, particularly for handling heavy furniture like standing desks, large monitors, and filing cabinets. Your role is to have everything packed, labeled, and disassembled before they arrive. The crew handles the physical carrying, loading, and placement at your new location. Having your office fully prepped before they show up keeps the job efficient and minimizes the time you're billed for.
Still have questions?
How to move with us?
Hit the “Get a Quote” button and tell us what you need.
Choose the service, date, and time that work best for you.
Our friendly team shows up on time and gets everything done safely.
Sit back while we take care of the rest.
.avif)