
Pool Table Moves: What to Expect When You Disassemble It

Knowing how to move a pool table correctly is something most people don't think through until they're standing in the basement game room staring at a 700-pound, three-piece slate table that has not moved since it was installed and realizing that it arrived in pieces, was assembled in place by professionals, and cannot leave any other way — and that the staircase going up is 36 inches wide, there is a 90-degree turn at the top, and nobody in the room has any idea how the rails come off. A pool table looks like furniture. It has legs. It has a flat surface. How hard could it be? The answer is: harder than almost any other item in the house to move correctly, and the mistakes people make — trying to move it assembled, dragging it across the floor on its legs, pulling the felt before the staples are loosened, cracking the slate because it was lifted wrong — routinely result in split slate panels, torn felt, snapped leg bolts, and a table that will never play level again even after it's reinstalled.
Need a professional crew to handle the heavy lifting so your pool table makes it out without damage? Call 224-404-0069 or get a free labor-only moving quote from Lift & Load today.
Why Moving a Pool Table Is Harder Than It Looks
The first problem is weight and fragility in the same object. The playing surface of a regulation pool table is not wood — it is slate, a natural stone milled to exacting tolerances and covered with tightly stretched felt. A single full slate panel can weigh 150 to 250 pounds on its own. A three-piece slate set means three of those panels must be individually lifted, protected, and transported without cracking, chipping, or flexing. Slate does not bend. It breaks. And a cracked slate panel is not a repairable item — it is a replacement item, which can cost hundreds to over a thousand dollars depending on the table.
The second problem is that pool tables are not designed to be moved assembled. The legs are not structural once the table is in motion — they are mounting points, not handles. Dragging an assembled table across carpet shears the leg bolts. Trying to carry it assembled concentrates all the stress on joints that were never intended to bear lateral load. The table has to come apart before it goes anywhere, and the order in which it comes apart matters as much as anything else.
The third problem is the felt. Pool table felt — sometimes called billiard cloth — is stretched and stapled or glued over the slate during installation. It is not a loose cover. Pulling it incorrectly tears it. Folding it the wrong way creases it permanently. Even good felt that survives the move can arrive with staple holes, wrinkles, or stretched sections that affect how the ball rolls. Most serious pool players prefer to install fresh felt after a move rather than risk reusing the old cloth, but that is a cost decision that only matters if the felt survives the disassembly in usable condition at all.
What You Need Before the Move Starts
Moving a pool table without the right tools is not a technique problem — it is a preparation problem. You are not just moving furniture. You are disassembling a precision playing surface and transporting its components without damaging any of them.
Tools required for disassembly
- Staple puller or flathead screwdriver — to lift staples securing the felt to the slate without tearing the cloth
- Power drill or socket wrench — to remove rail bolts, which are typically 7/16-inch or 1/2-inch and run through the slate from below
- Adjustable wrench — for leg bolt removal at the corner brackets
- Moving blankets — at minimum two per slate panel, and additional blankets for the rails, legs, and frame
- Moving straps or forearm forklifts — essential for carrying slate panels without gripping the edges directly
- A furniture dolly rated for 400+ pounds — for moving the frame and slate panels to the truck
- Plastic wrap or packing tape — to bundle legs, rails, and hardware bags together securely
What to document before you start
Photograph the table from every angle before touching it. Photograph the underside of the rails so you know where each one attaches. Keep all hardware — rail bolts, leg bolts, corner brackets — in labeled zip-lock bags taped to the component they came from. A pool table reassembly without its original hardware or without documentation of how the rails were positioned is a guessing game that costs time and increases the risk of a bad level at the end.
How to Disassemble a Pool Table Step by Step
Disassembly is not optional and it is not a shortcut — it is the only safe way to move a pool table. Work in this order and do not skip steps.
Step 1: Remove the pockets
Pool table pockets are attached either by staples, screws, or drop-in hardware depending on the table style. Leather drop pockets typically lift out from the corner and side openings. Stapled pockets require a staple puller. Remove all six pockets and bag the hardware. Set the pockets aside where they won't be stepped on — leather pockets are expensive to replace and surprisingly easy to scuff or tear.
Step 2: Remove the rails
The rails — the cushioned wooden borders that run along the sides of the table — are bolted through the slate from underneath. You will need to reach under the table with a socket wrench to access the rail bolts. Most standard tables use between three and five bolts per long rail and two to three per short rail. Remove each bolt completely and store them in labeled bags. Lift each rail section straight up — do not pry or angle it, as the cushion rubber can separate from the wood backing if torqued sideways. Wrap each rail in a moving blanket immediately.
Step 3: Remove the felt
This is where most DIY movers cause irreversible damage. The felt is stapled or glued at the edges and around the pockets. If it is stapled, use a staple puller or flathead screwdriver to lift each staple individually — do not rip, do not rush. Work from one end to the other in a consistent direction. Once all staples are free, roll the felt loosely — do not fold it — and wrap it in a clean moving blanket or plastic wrap to protect it from moisture, dust, and snags during transport.
Step 4: Remove the slate
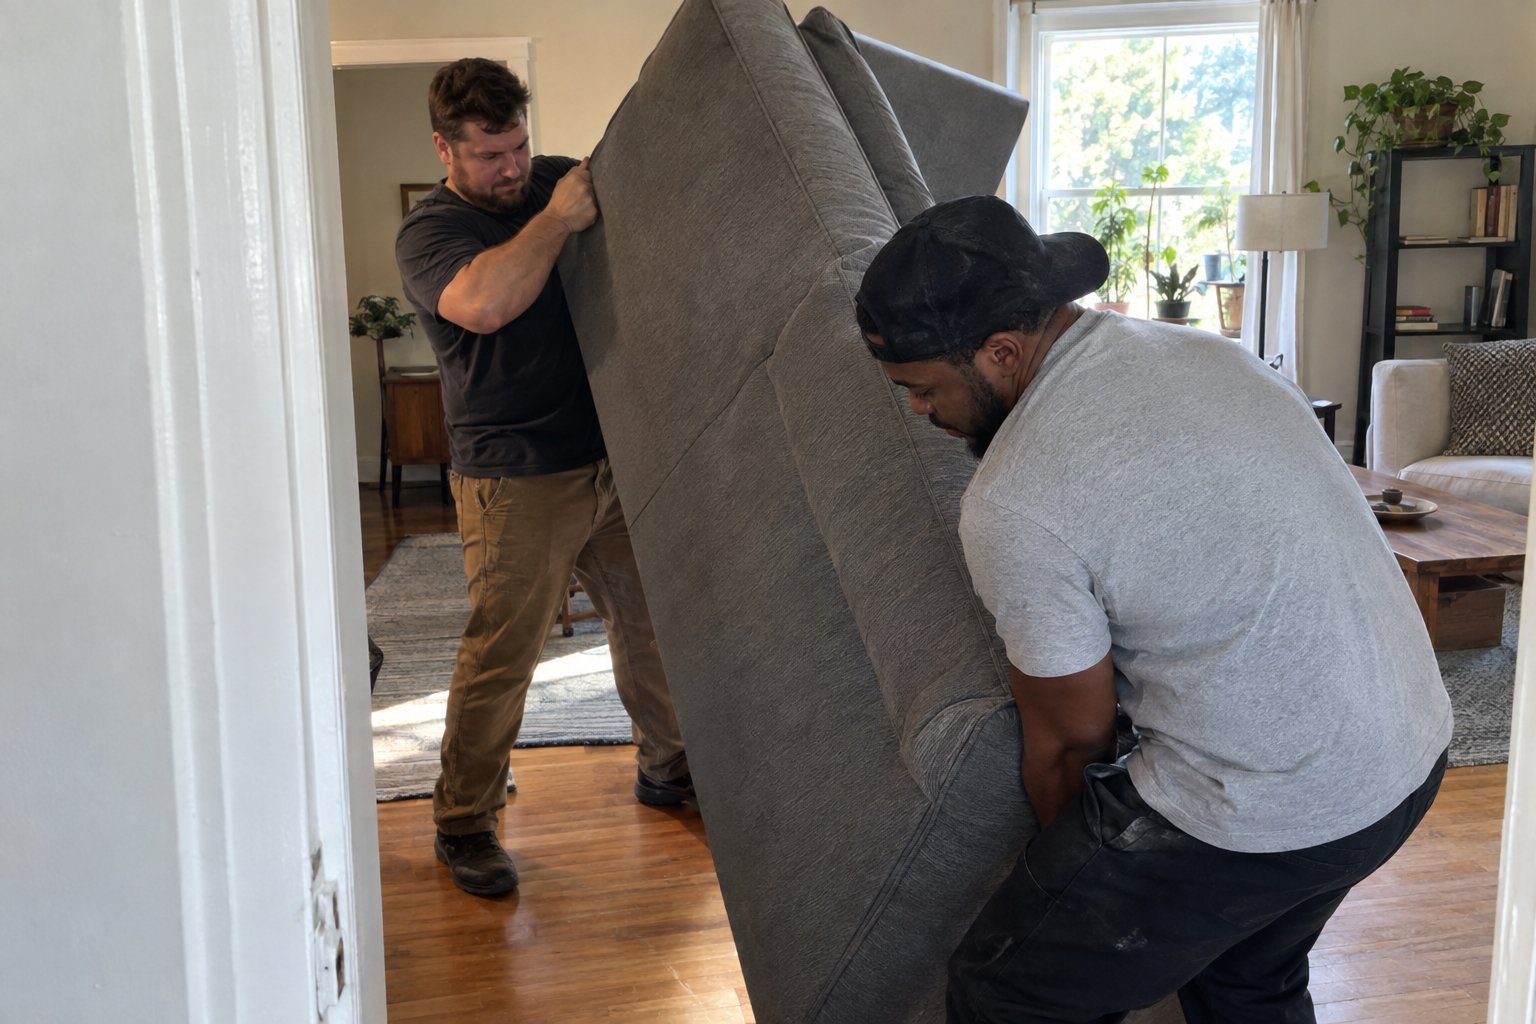
On a three-piece slate table, each panel is screwed down into the frame below — typically with wood screws or bolts in countersunk holes that are filled with beeswax or a slate filler. Use a screwdriver to remove each fastener. Lift each slate panel straight up with at least two people, one on each long edge — never by the corner, which is the most likely point to chip. Carry each panel vertically, like a door, not horizontally like a tray. Horizontal transport of slate concentrates stress at the center and is a common cause of cracking. Wrap each panel in two moving blankets and secure with moving tape before setting it in the truck.
Step 5: Disassemble the frame and legs
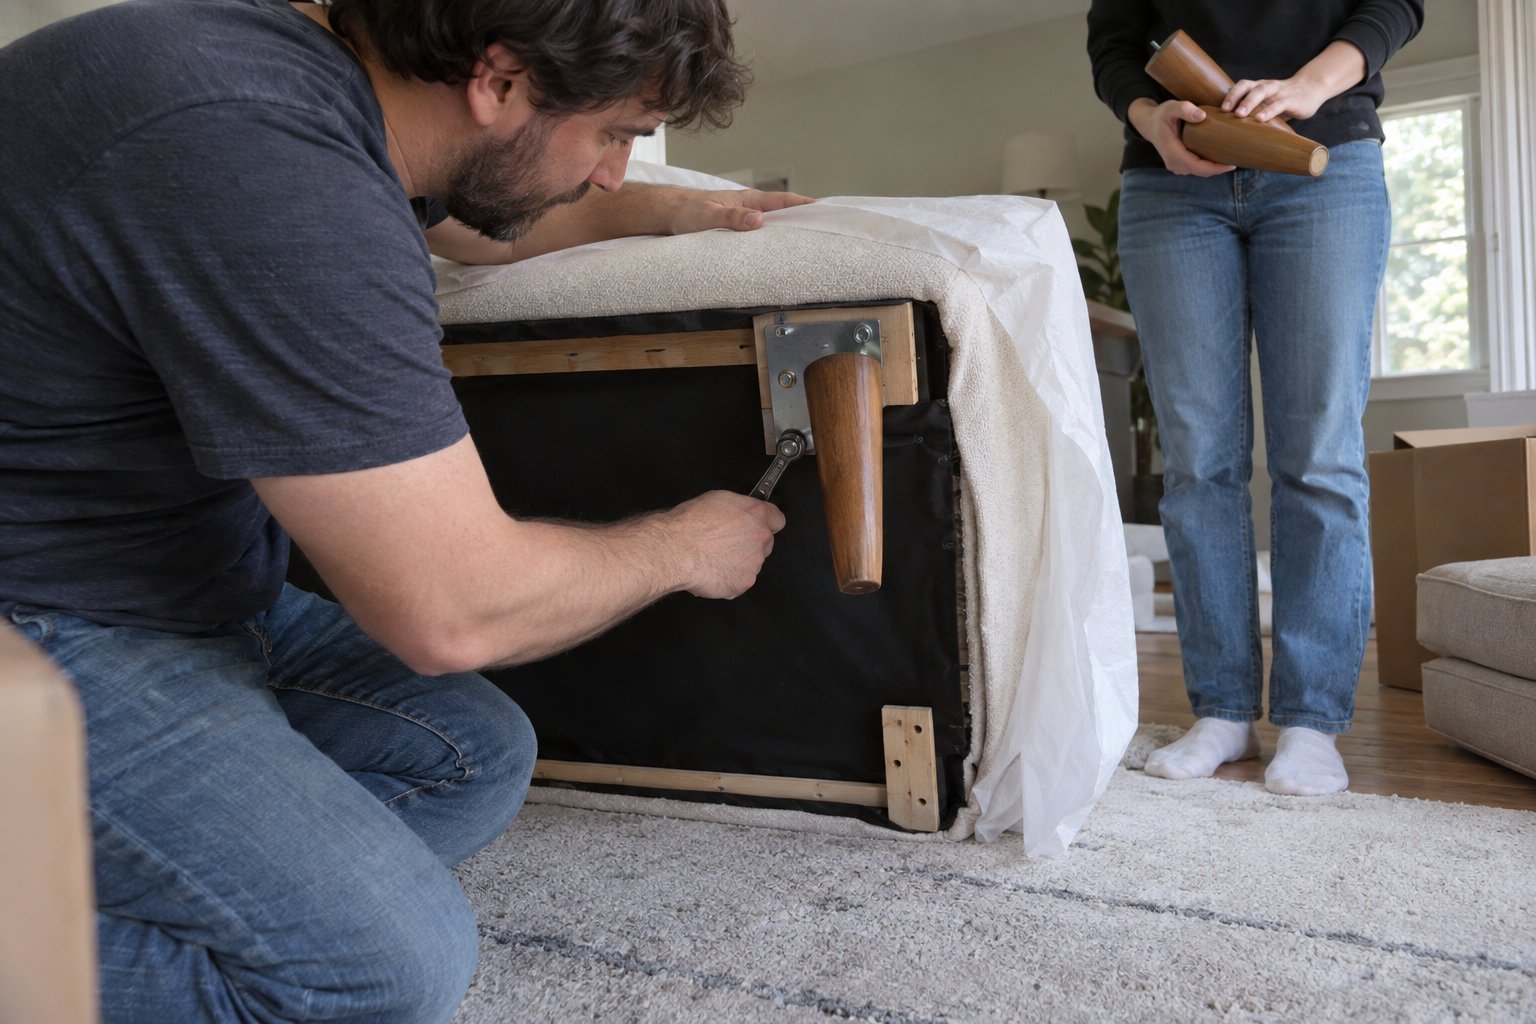
Once the slate is removed, the frame is significantly lighter but still awkward. Remove the legs by unscrewing the corner bracket bolts. Most pool table legs detach as a unit from a corner plate. Keep each leg matched to its corner if the brackets are not interchangeable — some tables have non-uniform corner fittings. Wrap the frame sections and legs individually and load them last, with padding between each piece.
Loading and Transporting Pool Table Components
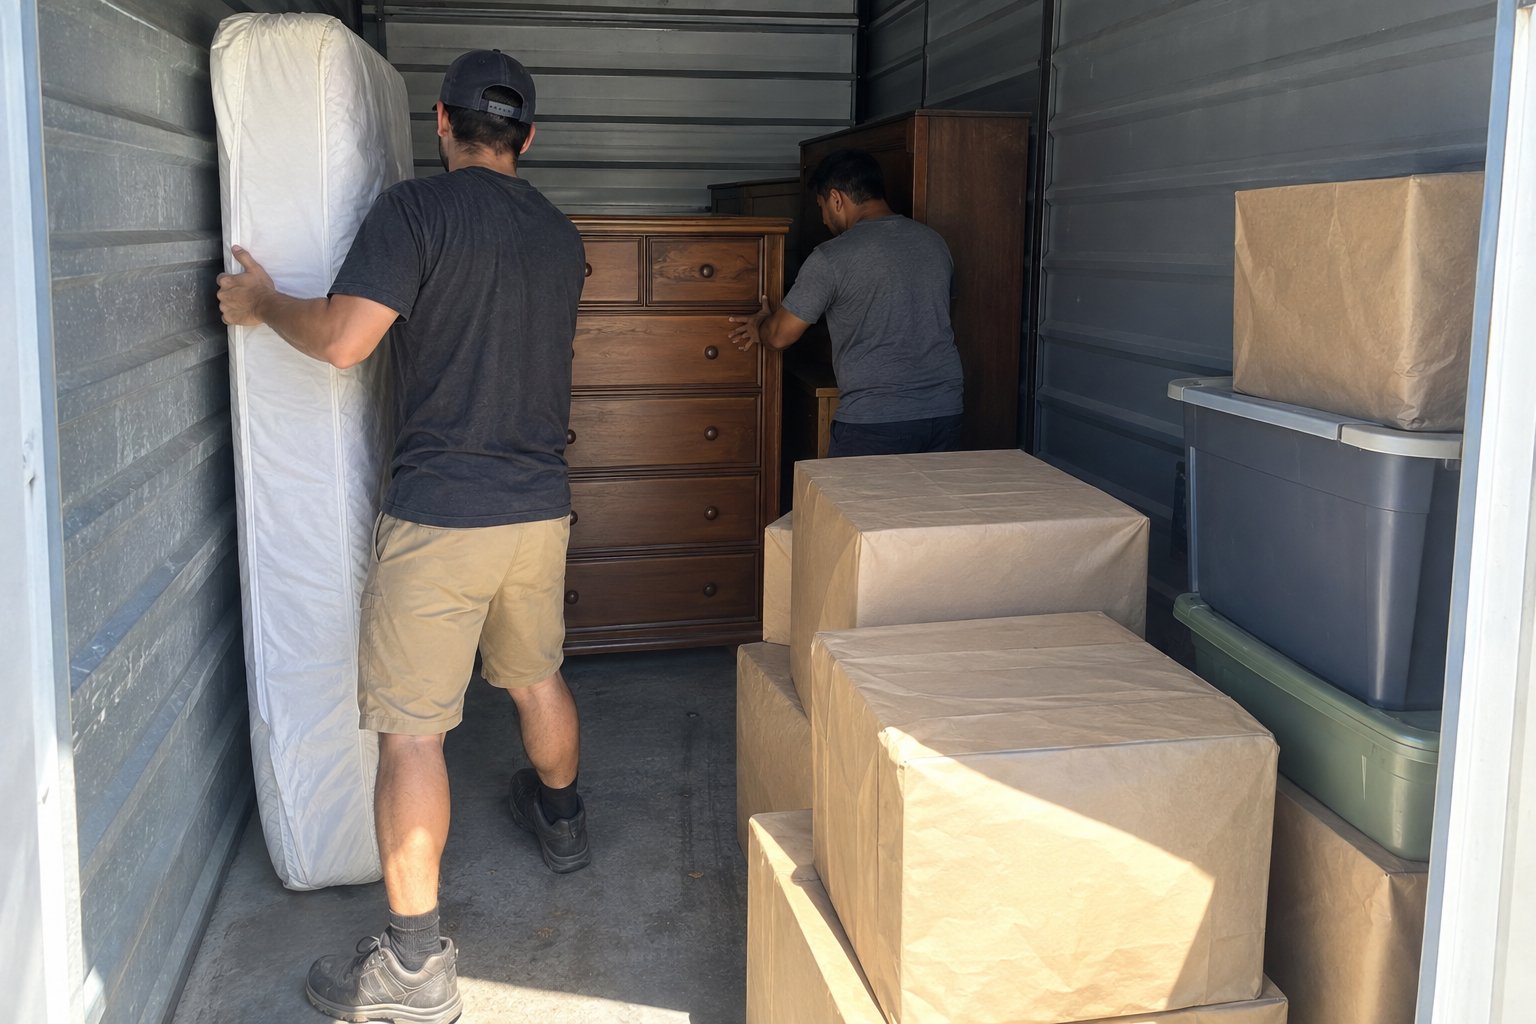
Slate panels travel best standing vertically against the truck wall, padded on both sides and secured so they cannot shift in transit. Never stack slate panels flat on top of each other without substantial padding — the weight of the upper panel against the surface of the lower one creates pressure points that can cause hairline cracks that don't show up until the table is releveled and the cue ball drifts three inches to the left on every break.
Rails travel flat, cushion-side up, padded and stacked with blankets between each layer. The frame can travel in sections, tied to the truck wall if possible to prevent sliding. Hardware bags should be loaded inside a box or secured in a way that they cannot be lost in transit — losing the rail bolts is a full-stop problem that cannot be improvised around on installation day.
What to Know About Reassembly
Reassembly is the mirror image of disassembly with one additional challenge: leveling. A pool table must be perfectly level for the game to play correctly. This requires a quality bubble level placed at multiple points across the slate surface and adjustable leg levelers or shims under the frame. One-piece slate tables are simpler to level; three-piece slate tables require each panel to be leveled independently and then the seams filled with beeswax and polished flat before the felt goes on.
If you removed the felt intact, reinstalling it requires the same stretched-and-stapled tension as the original installation. Felt that goes on loose plays slow and develops bumps. Most professional installers recommend having fresh felt on hand rather than attempting to reuse the original — especially if the table is moving to a different climate where humidity differences will affect how the cloth lies.
For most households, professional disassembly and reassembly by a labor crew familiar with billiard equipment is the right call. The cost of a damaged slate panel or a torn felt job on a quality table far exceeds the cost of booking experienced moving labor to do the job correctly the first time.
Common Pool Table Moving Mistakes to Avoid
- Moving it assembled: The number one mistake. Assembled pool tables cannot safely travel through doors, around corners, or down stairs. The legs will fail and the slate will crack.
- Carrying slate horizontally: Always transport slate panels vertically. Horizontal carry causes flex stress at the center and is a leading cause of cracked playing surfaces.
- Rushing the felt removal: Every torn felt job started with someone in a hurry pulling staples without a puller. Use the right tool and take the extra fifteen minutes.
- Losing the hardware: Rail bolts are not standard hardware-store items. Losing them means sourcing manufacturer-specific parts or making do with substitutes that don't fit correctly.
- Skipping the leveling step: A pool table that is not properly leveled after reassembly is not just annoying — it is unplayable. Budget time and a quality level for the reinstallation.



FAQs
No — not safely, and not without significant risk of damage. Pool tables are assembled in place because they cannot be maneuvered through standard doorways, down stairs, or around corners in one piece. Moving an assembled pool table also concentrates stress on leg joints that are not designed for lateral load, which causes leg bolts to shear and frames to rack out of square. Disassembly is not a shortcut around the process — it is the process.
At minimum, four people are needed for the slate removal and carry steps. Each slate panel on a three-piece table can weigh 150 to 250 pounds and must be carried vertically by at least two people positioned on the long edges. Additional hands are needed to manage doors, navigate stairs, and load the truck without anyone taking the full weight alone. Two people attempting a pool table move is not just difficult — it is a back injury and a cracked slate panel waiting to happen.
Carry each slate panel vertically — standing upright like a door — rather than horizontally. Horizontal slate transport creates flex stress at the center of the panel, which is the most common cause of cracking. Use moving straps or forearm forklifts rather than gripping the edges directly. Wrap each panel in at least two moving blankets before loading, and secure panels vertically against the truck wall with padding on both sides so they cannot shift in transit.
An experienced crew can disassemble a standard three-piece slate pool table in roughly one to two hours. Reassembly, including releveling the slate and reinstalling the felt, typically takes two to three hours. Total time from start to finish — including transport — is usually a full day job for a local move. First-time DIY disassembly without prior experience will take significantly longer, and mistakes made during disassembly (torn felt, lost hardware, misidentified rail positions) add time on the reassembly end.
An experienced crew can disassemble a standard three-piece slate pool table in roughly one to two hours. Reassembly, including releveling the slate and reinstalling the felt, typically takes two to three hours. Total time from start to finish — including transport — is usually a full day job for a local move. First-time DIY disassembly without prior experience will take significantly longer, and mistakes made during disassembly (torn felt, lost hardware, misidentified rail positions) add time on the reassembly end.
Still have questions?
How to move with us?
Hit the “Get a Quote” button and tell us what you need.
Choose the service, date, and time that work best for you.
Our friendly team shows up on time and gets everything done safely.
Sit back while we take care of the rest.
.avif)