
How to Pack a Kitchen for Moving Without Losing Your Mind (or Your Dishes)
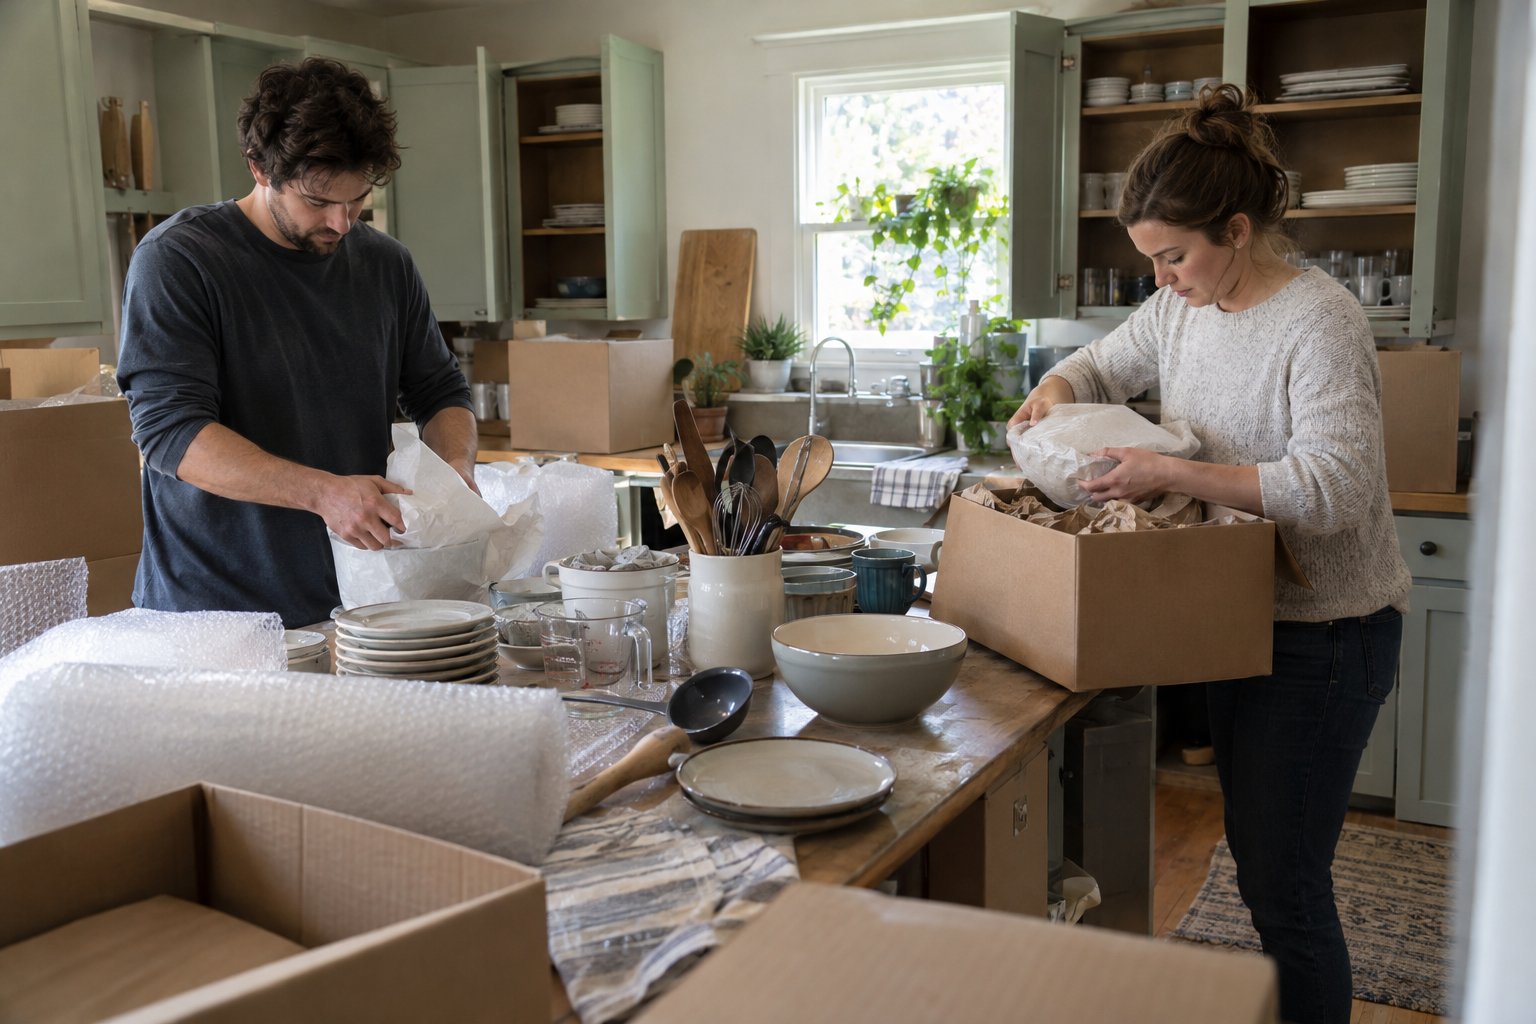
Packing a kitchen for moving takes longer than almost any other room in the house, mostly because nobody realizes how much is actually in there until they start opening cabinets. The fix is to treat the kitchen as several smaller projects (dishes, appliances, pantry, utensils, the junk drawer) instead of one overwhelming room, and to work from least-used items to most-used so the kitchen stays functional until moving day. Here is a system that keeps breakage low and prevents the "everything ends up in one giant unlabeled box" problem.
Unlike fragile-item guides that focus on a single category, this one covers the whole room: how to sequence the packing, what supplies actually hold up, and which items need to come off the truck first. If you are also packing specific fragile pieces like dishes or drinking glasses, those get their own detailed steps elsewhere; this guide is about getting the whole kitchen boxed in the right order without chaos.
How Far in Advance Should You Start Packing a Kitchen?
Start boxing up the kitchen about one to two weeks before move day, beginning with items you use less than once a month. Save the dishes, pots, and utensils you use daily for the final 48 hours so you are not eating takeout off paper plates for a week straight.
A simple way to sequence it: in week one, tackle the back of cabinets (the fondue pot, the extra casserole dishes, the holiday serving platters) and the pantry overflow. A few days before the move, pack small appliances you are not using daily. The night before or morning of, pack the final dish set, a few mugs, and basic utensils into a clearly labeled "open first" box that travels with you rather than the truck.
What Supplies Do You Actually Need to Pack a Kitchen?
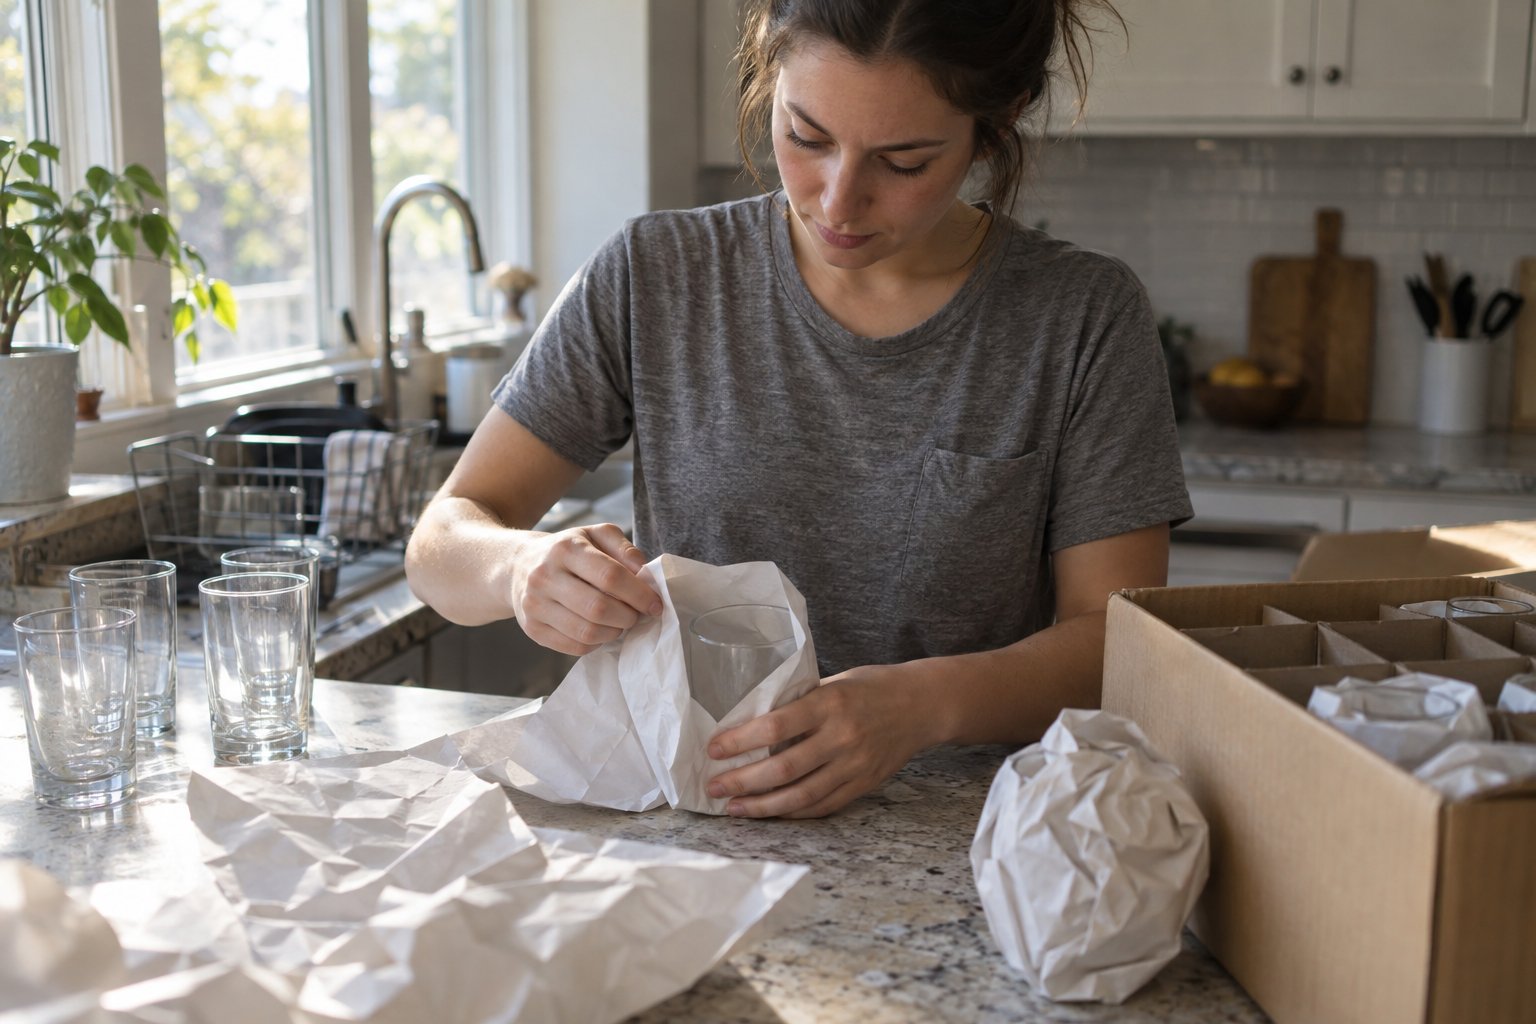
You need dish-pack boxes (double-walled, sturdier than standard boxes), packing paper, cell kits or box dividers for glassware, bubble wrap for appliances, and painter's tape or stretch wrap for securing drawers and cords. Newspaper works in a pinch but can transfer ink onto dishes, so plain packing paper is worth the extra cost for anything you eat off of.
Skip the temptation to raid the recycling bin for random boxes. Produce boxes and liquor boxes vary wildly in strength, and a heavy stack of plates in a weak box is how you end up with a blown-out bottom in the driveway. Dish-pack boxes with built-in cell dividers are the single best upgrade if you are packing a full set of everyday dishes and stemware.
How Do You Pack Small Appliances Without Damaging Them?
Small appliances travel best in their original boxes if you kept them; if not, wrap the body in packing paper or a towel, remove and separately wrap any glass or ceramic components, and secure loose cords with a twist tie or rubber band so they do not tangle or snag. Never pack an appliance with food residue inside, since it can mold or attract pests in transit.
Handling Cords, Glass Lids, and Removable Parts
Blenders, stand mixers, and coffee makers usually have a removable pitcher, bowl, or carafe. Take these off, wrap them individually, and pack them on top of the appliance body rather than loose in the box where they can shift and crack against something harder. Label the outside of the box with the appliance name so you are not unwrapping six items to find the toaster.
What's the Smartest Order to Pack and Unpack Kitchen Items?
Pack rarely used items first, everyday items last, and reverse that order when you unload: get the coffee maker, a few mugs, basic plates, and utensils out within the first hour at the new place. Everything else can wait until you have had a night's sleep.
This is also where box labeling earns its keep. Mark boxes by both room and priority ("Kitchen: Unpack Day 1" versus "Kitchen: No Rush") so whoever is carrying boxes in knows which ones to set aside near the counter instead of stacking them in the garage with everything else. If you are hiring a labor-only moving crew to load and carry boxes, clear labeling also helps them stage boxes in the right rooms without you having to direct every single one.
How Do You Handle Pantry Items and Perishables?
Donate or use up perishables and anything that cannot survive a hot truck before move day, and pack shelf-stable pantry goods into small, lighter boxes since canned goods and bags of flour add up in weight fast. Loose items like spices and opened bags are easier to manage in small bins or baskets you can lift out as a unit rather than individually wrapped.
Liquids deserve a second look. Oils, vinegars, and sauces should be sealed tightly, bagged individually, and packed upright in a box lined with a towel in case something leaks. If you are moving a long distance or through a hot climate, it is often simpler to just finish or donate anything liquid and restock once you arrive, since long distance moving can mean a day or more in transit.
Should You Pack the Kitchen Yourself or Get Help?
You can pack a kitchen yourself if you have the time and start early enough, but it is also one of the rooms where professional packing help pays off most, since it involves the highest concentration of fragile, oddly shaped items in the house. A crew that packs kitchens regularly moves faster and typically wastes less box space than a first-timer working it out as they go.
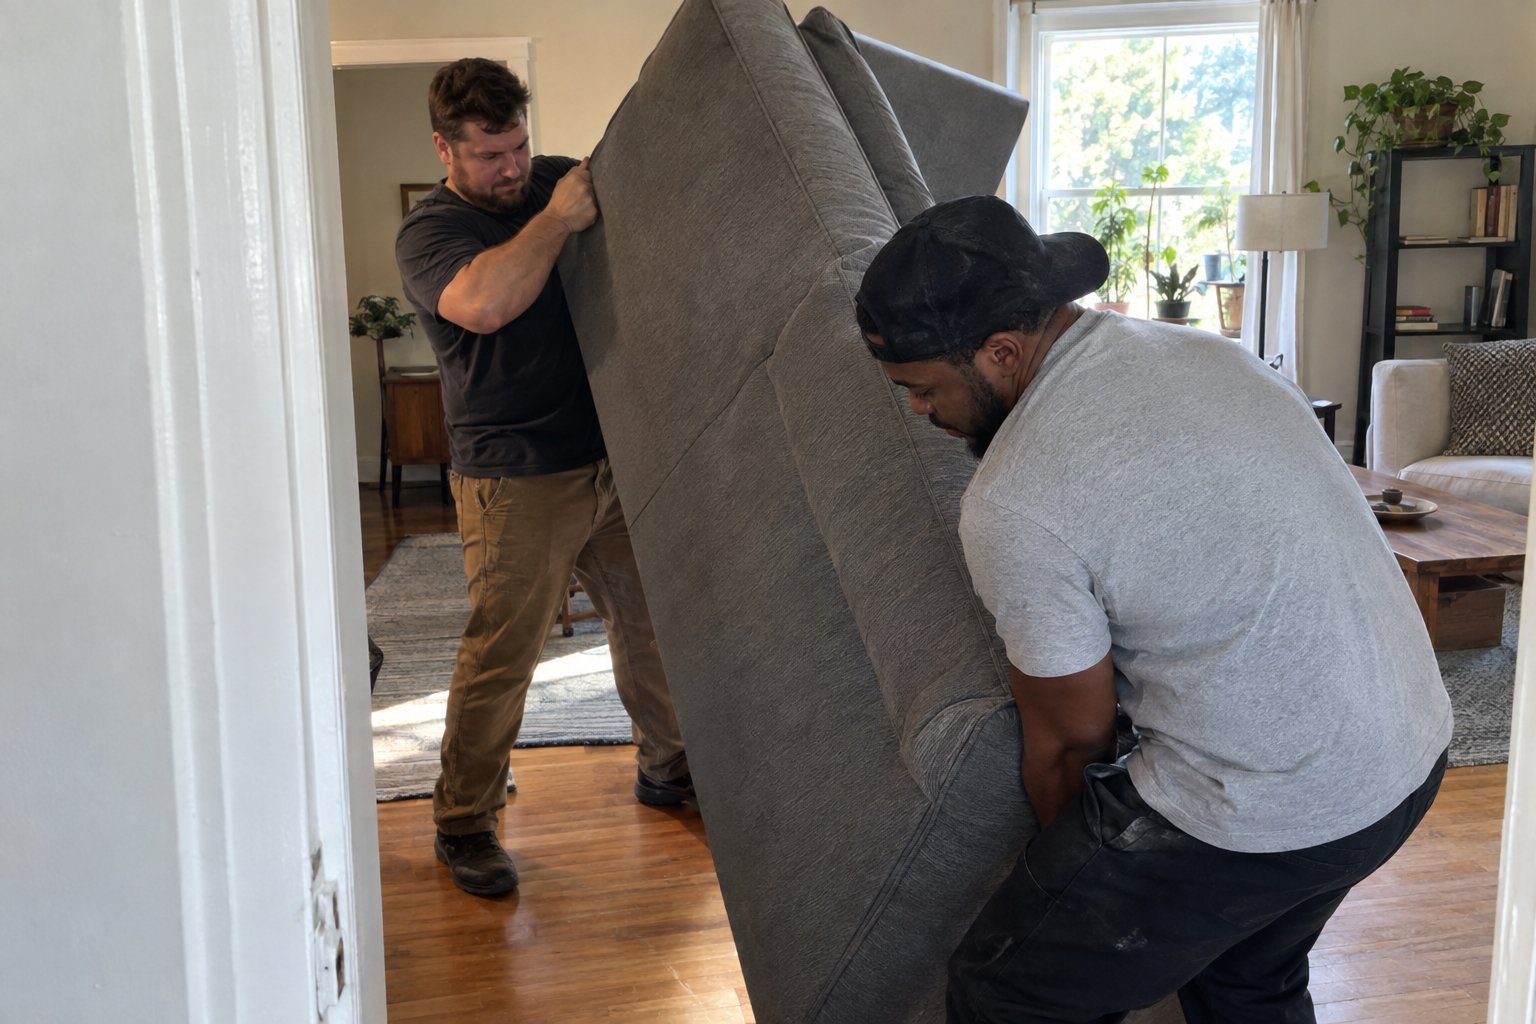
If your moving day plan already includes hired help for the heavy lifting, it is worth asking whether packing services can cover the kitchen specifically, even if you handle the rest of the house yourself. Many people split the difference: pack the low-risk rooms on their own time and bring in help for the one room where a dropped box actually costs something. Once your boxes are packed and ready, you can get a moving quote for the labor to load and haul everything safely.
FAQs
It varies with how much you cook and how much glassware or specialty cookware you own, but most kitchens fill somewhere between 10 and 20 boxes once dishes, appliances, pantry goods, and pots and pans are all accounted for. Heavier items like canned goods should go in smaller boxes so they stay liftable.
Wrap each blade individually in cardboard, a dish towel, or bubble wrap secured with tape before placing knives in a box, and never let blades touch each other loosely. A dedicated knife block or roll, wrapped as a unit, is even safer and keeps edges from shifting in transit.
For a local move happening the same day, a mostly full freezer can sometimes make the short trip, but perishable refrigerated food generally should not sit unrefrigerated for more than a couple of hours. For anything beyond a short local move, plan to use up, donate, or discard perishables beforehand.
Pack lids separately from the pots using packing paper between them, or nest same-sized pots together with paper in between and stack lids in their own layer. This keeps glass lids from cracking against metal rims and makes the box easier to pack efficiently.
Pack lids separately from the pots using packing paper between them, or nest same-sized pots together with paper in between and stack lids in their own layer. This keeps glass lids from cracking against metal rims and makes the box easier to pack efficiently.
Still have questions?
How to move with us?
Hit the “Get a Quote” button and tell us what you need.
Choose the service, date, and time that work best for you.
Our friendly team shows up on time and gets everything done safely.
Sit back while we take care of the rest.
.avif)