
Bed Frame Moving Checklist: Disassemble, Protect, and Move It
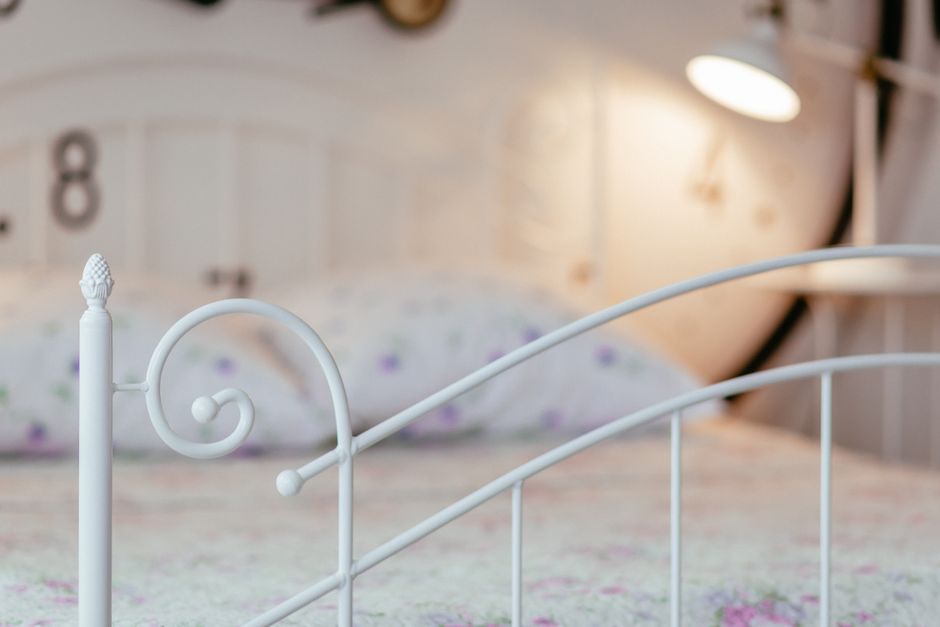
Knowing how to move a bed frame correctly is something most people don't think about until they're standing in a stripped-down bedroom holding a wrench, staring at a king-size platform frame with a slatted base, two side rails, a headboard the size of a barn door, and hardware they have absolutely no memory of assembling the first time. A bed frame looks like one of the easier items on the moving list. It's mostly flat pieces of wood or metal — how complicated could it be? The answer is: more complicated than almost anything else in the room. Bed frames are responsible for a disproportionate share of moving-day injuries, scratched floors, stripped bolt holes, and broken slats, precisely because people underestimate them and rush the process.
Need a professional crew to handle the heavy lifting so your bed frame and furniture arrive without damage? Call 224-404-0069 or get a free labor-only moving quote from Lift & Load today.
Why Moving a Bed Frame Is Harder Than It Looks
The first problem is size. A king-size bed frame, when assembled, spans roughly 76 inches wide and 80 inches long. Even a queen frame — the most common size in American homes — is 60 inches wide and 80 inches long. Neither will pass through a standard 32- to 36-inch doorway in one assembled piece. This isn't a matter of angle or technique. The math simply doesn't work. You have to disassemble the frame before you move it, and disassembly done carelessly is where most of the damage happens.
The second problem is hardware. Bed frames are held together by a mix of bolt-and-barrel-nut fasteners, hook-and-slot rail connectors, cam locks, wooden dowels, and sometimes proprietary brackets that require a specific tool to release. Strip a barrel nut while rushing, and the bolt spins freely forever — the joint is gone. Snap a hook-slot connector on a metal rail and that rail becomes scrap. Lose a single cam-lock bolt on a flat-pack platform frame and the whole corner of the base is unstable, possibly permanently.
The third problem is the headboard. On many modern bed frames, the headboard is the single largest, heaviest, and most awkward piece to carry — and it's also the most likely to be damaged. Upholstered headboards tear against door frames. Wooden headboards crack if laid flat without support. Tufted or button-backed headboards compress permanently if stacked under other items. And tall headboards — anything over 48 inches — are almost impossible for one person to carry without tipping into a wall.
Step 1: Gather the Right Tools Before You Start
Before you touch a single bolt, collect everything you need. Working with the wrong tool is how hardware gets stripped and wood gets gouged. For most bed frames you'll need:
- An Allen wrench set (metric and standard — check your frame's original manual if you have it)
- A socket wrench or adjustable crescent wrench for exposed bolt heads
- A Phillips-head and flat-head screwdriver
- A rubber mallet for separating stubborn joints without cracking the wood
- Zip-lock bags or a small container for hardware
- Painter's tape and a marker for labeling parts
- Moving blankets or furniture pads
- Stretch wrap or moving wrap film
Do not substitute a power drill with a high-torque driver for manual fasteners during disassembly. Power tools on cam locks and barrel nuts are the fastest way to strip a fitting that was only designed to be tightened by hand.
Step 2: Disassemble the Frame in the Right Order
Every bed frame disassembles differently, but there's a general sequence that prevents parts from falling on you and reduces stress on the joints.
Remove the Mattress and Box Spring First
This sounds obvious, but people regularly try to slide slats out or access hardware while the mattress is still sitting on top of the frame. Lift the mattress off completely and stand it against a wall before you do anything else. If there's a box spring, remove it too. Now you can see the full slat system and access the rail hardware without fighting dead weight.
Remove the Slats
Most platform and mid-century frames use individual wooden slats that rest in grooves along the inner edge of the side rails. Bundle these together — use two rubber bands or a piece of tape to keep them as a unit. Count them before you bundle. If slats come up missing at the destination, the mattress has no support and the frame is unusable until you source replacements.
Detach the Side Rails
On hook-and-slot frames (the most common metal and wood-hybrid design), the side rails hook into receiving brackets mounted on the headboard and footboard. Lift the rail slightly and pull toward you to release the hooks. Do not yank horizontally — that bends the hooks. On bolt-through frames, remove the bolts from the outside of the rail, keeping your hand under the rail as the last bolt comes out so it doesn't drop and crack against the floor.
Separate the Headboard and Footboard
On frames where the headboard is a separate component bolted to the rail, remove the mounting bolts and set the headboard aside carefully. If the headboard is fabric-covered, wrap it immediately in a moving blanket before leaning it against anything. On platform frames where the headboard is structural — meaning the side rails bolt directly into it — you may need to access recessed barrel nuts through holes drilled in the side panels. Use the Allen wrench, not a screwdriver, even if the hole looks like it might accept a flat head.
Step 3: Protect Every Component Before Carrying
Once the frame is in pieces, the work isn't done — it's just changed. Disassembled bed frame parts are long, thin, and prone to exactly the kind of contact damage that assembled furniture avoids. A bare wooden rail dragged across a floor will pick up gouges within three feet. A bare metal frame leaned against a wall will scratch the paint on contact.
Wrap Rails and Slats Together
Group the side rails together flat-side to flat-side, and wrap them as a bundle with stretch wrap. This protects both the finish and the hook hardware on the ends. Slats, bundled and wrapped, should be carried separately — do not lean them against the rails inside the truck, because the weight of a load shifting in transit can crack slats that have no lateral support.
Wrap the Headboard Thoroughly
An upholstered headboard should be wrapped in at least one moving blanket before any stretch wrap goes over it. The blanket provides cushion; the stretch wrap holds the blanket tight. A solid wood headboard can go directly in stretch wrap, but any carved or routed detail — decorative trim, legs, post finials — should have an extra layer of cardboard taped over it before the wrap. Those details are the first things to shear off in a truck.
Bag and Label All Hardware
Put every bolt, barrel nut, washer, and hook-slot bracket into a zip-lock bag. Tape that bag to the back of the headboard or the underside of a bundled rail. Label the bag with the frame's location — "master bedroom," "guest room" — if you're moving multiple beds. Hardware bags that go into a box with general packing supplies have a near-perfect record of disappearing between origin and destination.
Step 4: Carry Disassembled Parts Without Damaging Your Home
The carry is where floors, door frames, and walls take the most punishment. Long, flat pieces like side rails are particularly dangerous because the person at the back of the carry can't see the front end, and the front person can't feel resistance at the rear. Communication between both carriers is not optional — it's the only thing that prevents a rail end from punching through drywall.
Carry Rails on Edge, Not Flat
A side rail carried flat — horizontal, like a shelf — flexes under its own weight over longer spans and can crack at the joint ends. Carry rails on edge (vertical orientation) with one person at each end. This is more stable, reduces flex, and makes the rail narrower in profile so it clears door frames more reliably.
Angle the Headboard Through Doorways
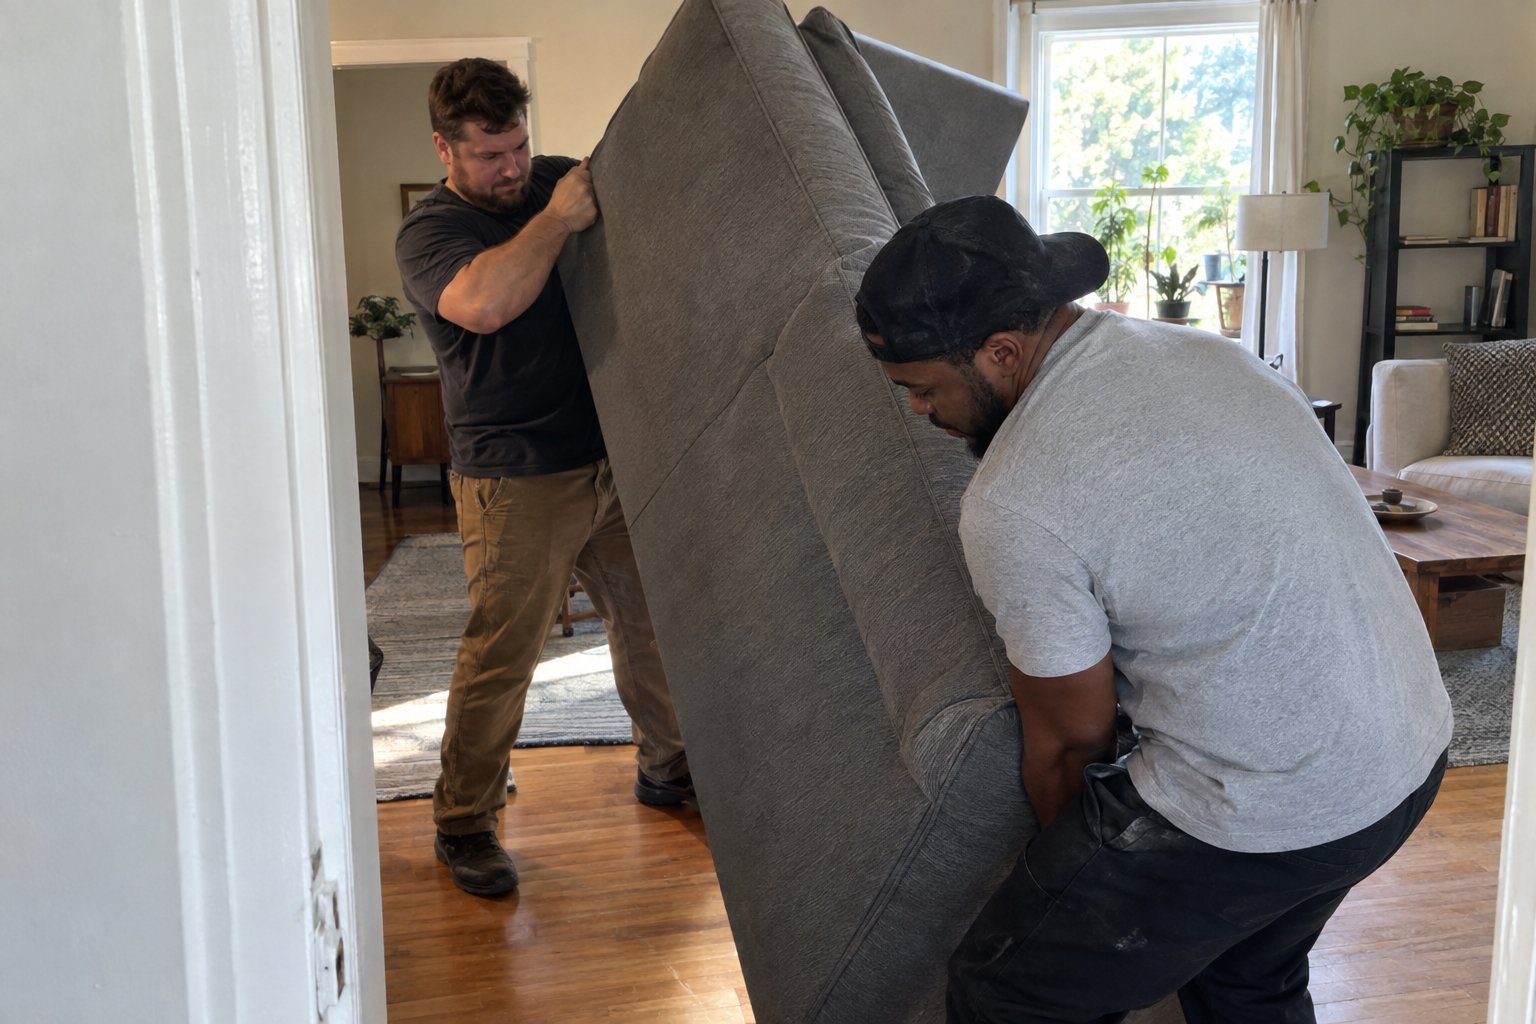
Tall headboards almost always need to be angled — tipped diagonally — to clear a standard 80-inch door opening. Map the path before you carry: check ceiling height, measure the headboard's diagonal dimension, and confirm whether any hallway turns require the headboard to be stood upright or laid at an angle. Knowing the geometry in advance takes thirty seconds; figuring it out with a 60-pound upholstered headboard in your hands takes much longer and risks dropping it.
Use Furniture Dollies for Heavy Platform Bases
Solid wood or metal platform frames with thick base panels can be extremely heavy even in disassembled sections. A single side panel from a storage platform bed can weigh 40 to 70 pounds. Use a flat furniture dolly to wheel these to the truck rather than carrying them by hand across long distances. Protect the dolly surface with a blanket so the panel's finish doesn't abrade against the metal deck.
Step 5: Reassemble Carefully at the Destination
Reassembly is where the quality of your disassembly process shows up. If hardware is missing, if parts are unlabeled, or if hook brackets were bent during the carry, reassembly becomes an improvised repair job rather than a straightforward reversal of the original steps.
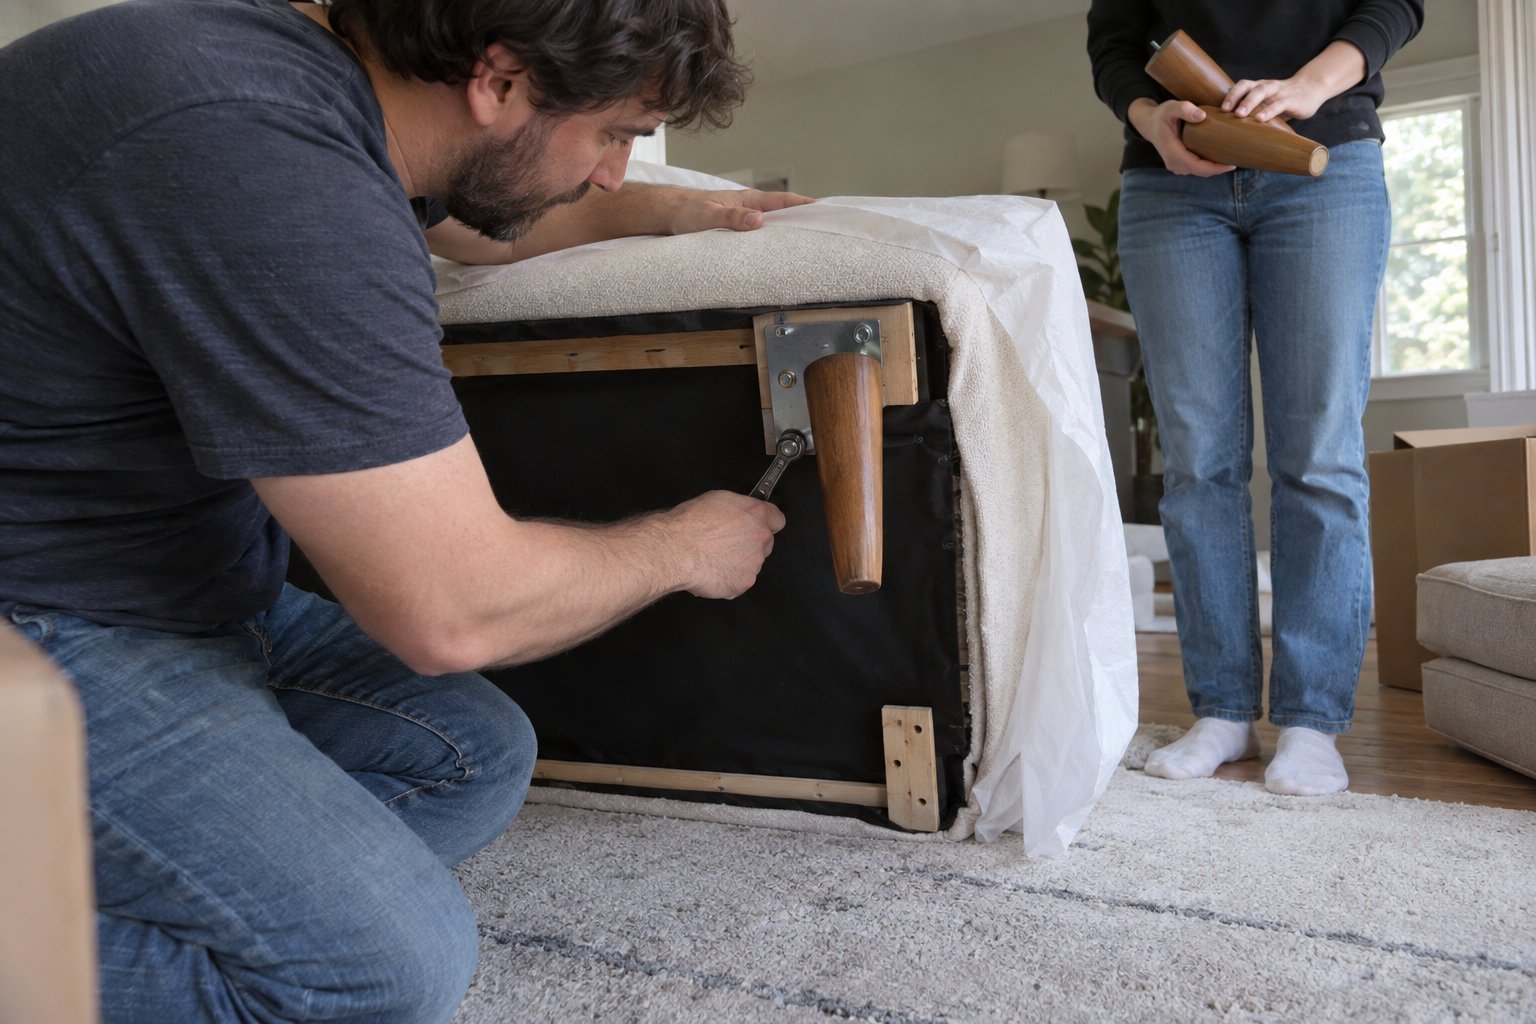
Set all parts in the room before you begin assembly. Lay out the hardware bag and confirm all pieces are present. Start with the headboard-to-rail connection — the most structural joint — and do not fully tighten any bolt until all connections are made. Tightening one joint completely before the others are attached puts torque on wood grain and can split a rail that was otherwise undamaged through the entire move.
Once all connections are hand-tight, go around with the wrench and snug every bolt in the same order you'd tighten lug nuts on a wheel — opposite sides, not sequential. This distributes load evenly and prevents the frame from racking (twisting out of square). Finish by replacing the slats, checking that each one seats properly in its groove, and then place the box spring and mattress.
A bed frame moved correctly arrives at the destination in exactly the same condition it left — no stripped hardware, no cracked rails, no torn upholstery, and no mystery bag of leftover bolts sitting on the floor. Done wrong, it's one of the more expensive pieces of furniture to repair or replace, because most frames are not sold as individual components. If you'd rather have an experienced crew handle the disassembly, carry, and reassembly, get a free labor-only moving quote from Lift & Load and we'll take it from there.



FAQs
In most cases, yes. Even a queen-size bed frame (60 inches wide) cannot pass through a standard 32- to 36-inch doorway in one assembled piece. King and California king frames definitely cannot. The only exceptions are very small twin frames without headboards, and even those often need rails detached to navigate hallway turns safely. Attempting to carry a partially assembled frame through doorways is the most common cause of bent rail hardware, cracked joints, and damaged door frames on moving day.
Put all bolts, barrel nuts, washers, brackets, and any specialty fasteners into a zip-lock bag immediately as you remove them. Tape the sealed bag directly to the largest structural piece — usually the headboard's back panel or the underside of a bundled rail set — and label it with the room it came from. Never put hardware bags into general packing boxes. Hardware that ends up in a random box has a very high rate of going missing, and most bed frames cannot be reassembled with substitute hardware from a hardware store because the fittings are proprietary sizes.
Wrap the headboard fully in a moving blanket and stretch wrap before carrying it anywhere. Then measure the headboard's diagonal dimension (corner to corner) and compare it to your door opening height and hallway ceiling height — this tells you whether you can angle it through or whether you need to keep it upright. Carry the headboard with one person on each side gripping the outer frame, not the fabric or any decorative details. Communicate clearly with your carry partner before any direction change, and move slowly through the doorway to avoid contact with the frame.
For platform frames with thick wooden or upholstered base panels, use a flat furniture dolly rather than carrying sections by hand across the room. Place a moving blanket between the panel and the dolly surface to protect the panel's finish from the metal deck. Wheel the section to the nearest exit, then carry it from there. If you need to set a section down temporarily on a hardwood or tile floor, place a folded moving blanket underneath it — never set bare wood or metal frame parts directly on finished flooring, even for a moment.
For platform frames with thick wooden or upholstered base panels, use a flat furniture dolly rather than carrying sections by hand across the room. Place a moving blanket between the panel and the dolly surface to protect the panel's finish from the metal deck. Wheel the section to the nearest exit, then carry it from there. If you need to set a section down temporarily on a hardwood or tile floor, place a folded moving blanket underneath it — never set bare wood or metal frame parts directly on finished flooring, even for a moment.
Still have questions?

How to move with us?
Hit the “Get a Quote” button and tell us what you need.
Choose the service, date, and time that work best for you.
Our friendly team shows up on time and gets everything done safely.
Sit back while we take care of the rest.
.avif)