
What to Expect When Moving a Desk Solo or With Help

Knowing how to move a desk correctly is something most people don't think through until they're standing in a home office staring at a 60-inch L-shaped desk — drawers full, monitor arm still bolted to the surface, cable management tray hanging underneath, and a doorway that's clearly not wide enough to pass it through assembled. A desk looks manageable. It's a flat work surface with some legs and maybe a few drawers. How hard could it be? The answer is: much harder than it looks, and the consequences of doing it wrong range from a cracked desktop and stripped drawer slides to a wrenched back and a gouge running the full length of a hardwood floor.
Need a professional crew to handle the heavy lifting so your desk and furniture arrive without damage? Call 224-404-0069 or get a free labor-only moving quote from Lift & Load today.
Why Moving a Desk Is Harder Than It Looks
The first problem is footprint. An executive desk or L-shaped corner desk can measure anywhere from 55 to 72 inches across its primary side — sometimes more. Even a basic rectangular writing desk at 48 inches wide will not pass through a standard 32- to 36-inch doorway in an upright, assembled position. That means every desk larger than roughly 30 inches across either needs to be disassembled before it moves, or it needs to be tipped, angled, and carefully navigated through the opening — a maneuver that gets dangerous quickly with a heavy piece that has no good grip points.
The second problem is construction. Desks fall into two broad categories: solid wood or metal-frame desks built to last, and flat-pack particleboard or MDF desks assembled with cam locks and dowels. Both types have specific failure modes when moved incorrectly. Solid wood desks are heavy — sometimes exceeding 150 to 200 pounds — and their mortise-and-tenon or bolt-and-bracket joints can rack and loosen if the desk is carried at an angle without support. Flat-pack desks are lighter but far more fragile. The cam-lock joints holding the desktop to the pedestals and the drawer units to the carcass are designed for static load only. Introduce lateral force — which is unavoidable when carrying — and those joints begin to work loose, often invisibly, until the desk wobbles permanently at the new location.
The third problem is accessories and hardware. Modern desks frequently have cable management trays screwed to the underside, monitor mounts clamped or grommeted to the surface, keyboard trays on undermount slides, and drawer pedestals on integrated casters. None of these travel well if left attached. They add weight in the wrong places, snag on doorframes, and shift the center of gravity in ways that turn a difficult carry into a dangerous one.
Step 1: Gather the Right Tools and Supplies
Before you move a single piece of furniture, collect your tools. Improvising mid-disassembly is where damage happens. For most desks, you'll need:
- An Allen wrench set — both metric and standard sizes; flat-pack desks almost always use metric hex bolts
- A Phillips-head and flat-head screwdriver
- An adjustable crescent wrench for any exposed bolt heads on metal-frame desks
- A rubber mallet for separating joints without cracking wood or splitting MDF
- Zip-lock bags and a marker for labeling and storing hardware by component
- Painter's tape for labeling panels and cords
- Moving blankets or furniture pads — at minimum two per major panel
- Stretch wrap film to bundle flat pieces and protect finished surfaces
- A flathead tool or putty knife for prying off plastic cam-lock covers on flat-pack pieces
One important caution: do not use a high-torque power drill to remove cam-lock bolts or barrel nuts. These fasteners are designed to be hand-tightened. A power driver strips them in seconds, and a stripped cam lock cannot be replaced in the field — it means a joint that never fully tightens again.
Step 2: Clear and Disconnect Everything First
Empty every drawer completely before you attempt to move or disassemble the desk. This sounds obvious, but it's routinely skipped, and the consequences are real: a drawer full of office supplies adds 10 to 20 pounds of shifting, rattling weight to an already awkward piece. Worse, items in drawers can slide forward during a carry and jam the drawer mechanism, making it impossible to open cleanly without forcing it.
Disconnect All Cables and Accessories
Remove every cable from the desk before disassembly. Unplug and coil monitor cables, power strips, and any USB hubs or charging stations. Remove cable management trays by unscrewing them from the underside of the desktop — these are almost always attached with two to four wood screws and come off quickly with a screwdriver. If the tray is plastic, set it aside carefully; they crack if stacked under heavy panels.
If you have a monitor arm or mount, remove it entirely. A clamp-style mount detaches from the desktop edge with a single bolt. A grommet-style mount threads up through a hole in the surface and tightens with a nut underneath — hold the top piece steady while you loosen the nut from below. Set the arm aside in its own wrapped bundle. Do not leave it attached during the move; even clamped arms shift under load and can lever against the desktop edge hard enough to crack solid wood or delaminate a laminated surface.
Remove Keyboard Trays and Drawer Slides
Undermount keyboard trays attach to the underside of the desktop on a sliding bracket. There are typically two screws or bolts at the rear of the bracket where it mounts to the desk. Remove these and slide the entire tray assembly off. If the tray is on a ball-bearing slide mechanism, compress the slide fully before attempting removal — extended slides catch on everything.
Step 3: Disassemble the Desk in the Right Order
Disassembly sequence matters. Working out of order puts stress on joints that are still supporting weight, which is how panels crack and cam locks strip.
Remove Drawers First
Pull every drawer out fully until it stops, then look for the release mechanism on the slides. Most drawer slides have a small plastic lever or metal tab on each side of the slide rail. Press both tabs simultaneously and the drawer lifts free. Set each drawer face-down on a padded surface. Never stack drawers face-to-face without padding between them — drawer faces are often the most finished surfaces on the desk and scratch easily.
Detach Pedestals and Return Sections
On L-shaped desks, the return section (the shorter wing of the L) usually connects to the main desk body with a bracket system hidden underneath the work surface. Access these bolts from beneath the desk and remove them before trying to separate the return. On flat-pack desks, the pedestal unit (the drawer cabinet) is often connected to the desktop via cam locks set into the desktop surface. Pry the cam-lock cover caps off with a flathead screwdriver, turn the cam bolts to the unlock position, and the pedestal separates from the top cleanly — if you do it in that order. Reversing the sequence and trying to lift the desktop off a locked pedestal is how desktop corners snap off.
Remove Legs Last
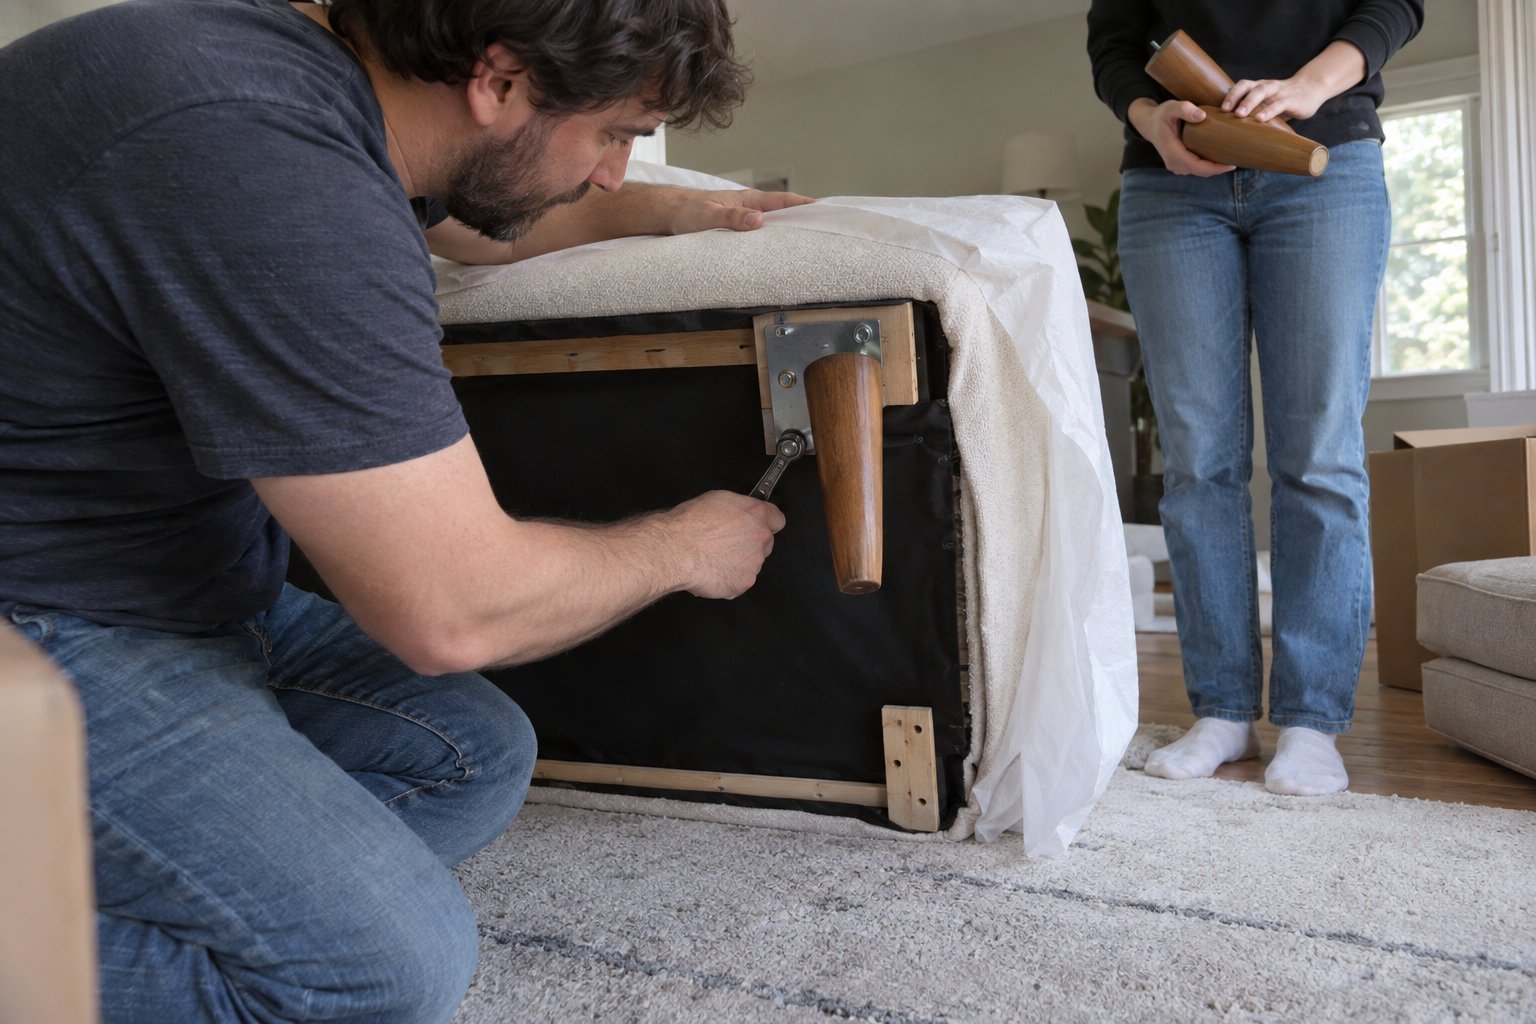
Once the desktop is free of its attached components, flip it carefully onto a padded blanket — surface face-down — and remove the legs. Most leg-to-desktop connections use either a threaded bolt through the leg top into an insert in the desktop underside, or a bolt-and-bracket plate screwed to the underside surface. Remove all leg hardware and bag it by leg position (front-left, front-right, etc.) so reassembly is straightforward.
Step 4: Protect All Surfaces Before Moving
A disassembled desk is a collection of finished panels with no protection against the environment they're about to travel through. Wrap every piece before it leaves the room.
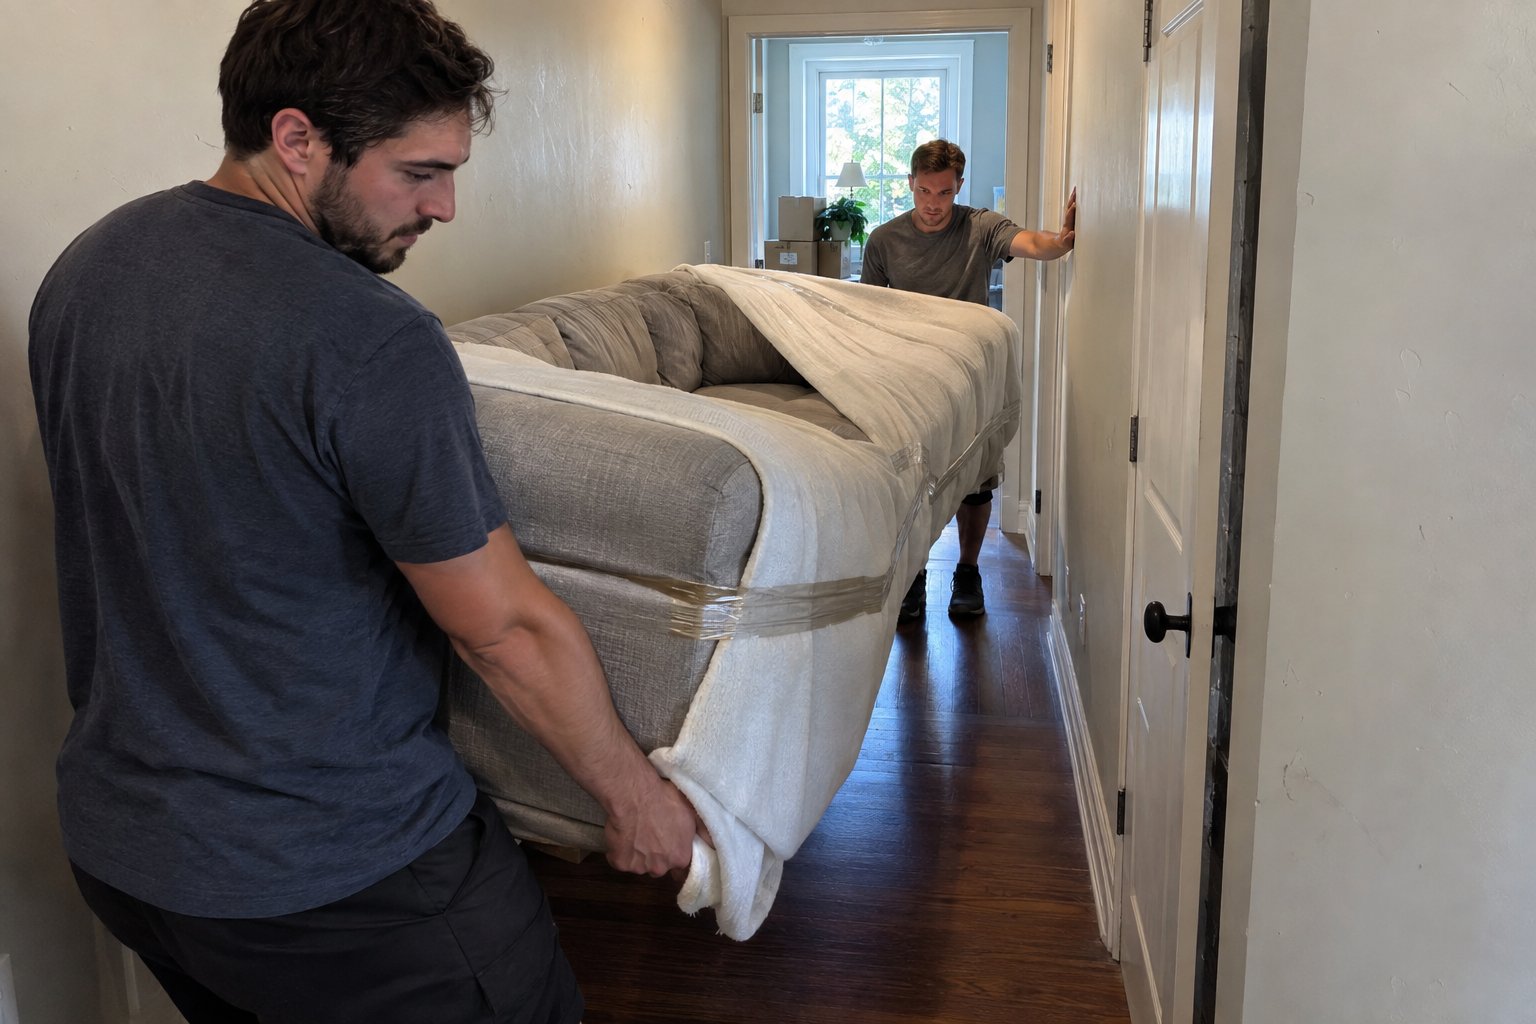
For the desktop, lay a moving blanket face-down, set the desktop face-down on the blanket, fold the blanket over all edges, and secure it with stretch wrap. Pay particular attention to corners — these are the first surfaces to contact doorframes during a carry, and even a minor corner strike on a glass-topped or lacquered wood desk can chip or crack the surface permanently.
For drawer faces, wrap each one individually. Never wrap multiple drawer faces together without separating them with a layer of padding — hardware like pulls and handles will press into the adjacent face and leave marks or dents.
Leg sets should be bundled together with stretch wrap, with a blanket layer around the bundle to protect any finished metal or wood surfaces from scuffing against each other in transit.
Step 5: Navigate Doorways and Stairs Correctly
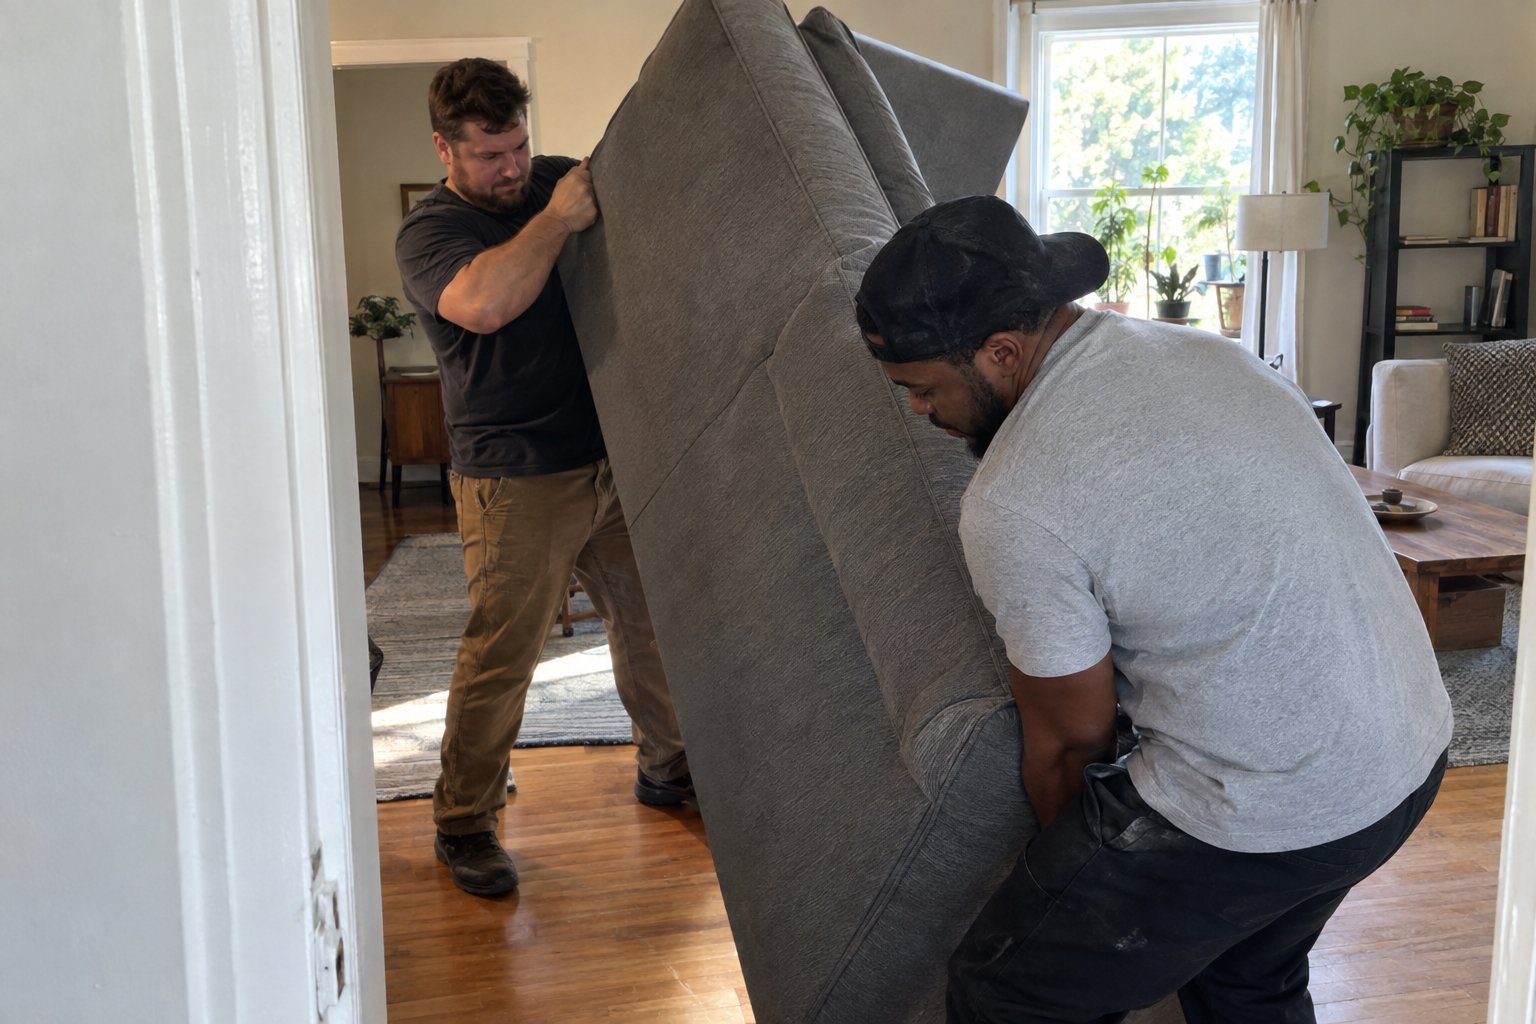
The desktop panel is almost always the single most difficult piece to move through a space, because it's wide and flat. Carrying a desk panel vertically — on its long edge — is the most practical approach through doorways. This dramatically reduces the effective width you're carrying from 48 to 72 inches down to the panel's thickness, typically 1 to 3 inches for the actual surface. The challenge is controlling a tall, vertical panel through a turn without letting it flex or tip.
Two people are required for any desktop panel over 48 inches. One person leads from the destination side of the doorway, one person guides from behind. The leader calls angles. The person in the rear does not push — they support and steer. Pushing a panel against resistance is how corners catch on doorframes.
On stairs, carry panels on the vertical edge whenever possible and keep the panel tilted slightly toward the wall side — not leaning outward over the open stair. If you must carry a desktop horizontally on stairs, three people are safer: one at each end and one supporting the middle on longer panels.
When to Call a Labor-Only Moving Crew
There are desk situations where DIY disassembly and carrying creates more risk than it's worth. A standing desk with an electric lift mechanism — the kind with motors and a controller wired into the frame — is one of them. The wiring harness is routed through the legs and crossbars in ways that are easy to pinch or sever during disassembly if you're not familiar with the unit. A large glass-topped executive desk is another: tempered glass tops are heavy, awkward, and cannot be set down face-down without risk of shattering under an uneven surface. And any antique or solid hardwood desk worth preserving deserves more than a blanket and a hope — it needs a crew that moves expensive furniture regularly.
A labor-only moving crew from Lift & Load handles the disassembly, padding, carrying, and reassembly so you don't have to — and so your desk arrives the same condition it left.




FAQs
In most cases, yes. Any desk wider than about 30 inches — which covers nearly all standard desks — will not pass through a typical 32- to 36-inch interior doorway assembled and upright. Even if the width is marginal, hall turns and staircase landings often make an assembled carry impossible without damaging the desk, the walls, or both. Disassembly is also safer: a desk broken into flat panels is far easier to carry and protect than an assembled piece with legs catching on every corner.
The key is to disassemble it intentionally rather than letting the move do it for you. Flat-pack desks use cam-lock joints that are designed for static load and will work loose under the lateral stress of carrying. Before you move any piece, remove all cam-lock bolts and separate the components cleanly. Then wrap each panel individually and carry them flat or on edge, never stacked without padding between them. Reassemble at the destination before putting any weight on the desk.
Carry it vertically — on its long edge — whenever the panel thickness allows a stable grip. Vertical orientation reduces the effective width from 48 to 72 inches down to the panel's edge, which clears most doorways easily. Use two people: one on each side of the doorway. The lead person calls direction and angles; the rear person supports and steers without pushing against resistance. Protect the leading edge of the panel with a folded moving blanket to prevent corner strikes on the doorframe.
Electric standing desks require extra care because the lift motors, wiring harness, and controller are integrated into the frame in ways that are easy to damage during disassembly. Before disassembly, lower the desk to its minimum height and power it off. Take photos of the wiring routing before you disconnect anything. Remove the desktop from the frame first, then disassemble the leg frame according to the manufacturer's instructions. Never cut zip ties on wiring bundles without knowing what you're cutting. If you're not confident in the process, a labor-only moving crew familiar with office furniture is a safer option than improvising.
Electric standing desks require extra care because the lift motors, wiring harness, and controller are integrated into the frame in ways that are easy to damage during disassembly. Before disassembly, lower the desk to its minimum height and power it off. Take photos of the wiring routing before you disconnect anything. Remove the desktop from the frame first, then disassemble the leg frame according to the manufacturer's instructions. Never cut zip ties on wiring bundles without knowing what you're cutting. If you're not confident in the process, a labor-only moving crew familiar with office furniture is a safer option than improvising.
Still have questions?

How to move with us?
Hit the “Get a Quote” button and tell us what you need.
Choose the service, date, and time that work best for you.
Our friendly team shows up on time and gets everything done safely.
Sit back while we take care of the rest.
.avif)