
Washer and Dryer Moves: Disconnect, Prepare, and Load Safely
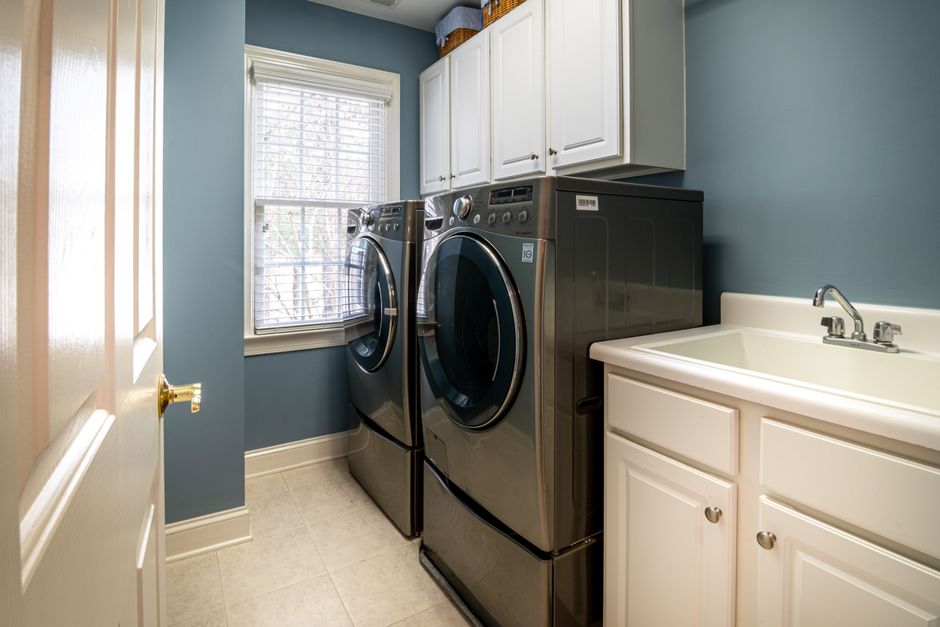
Knowing how to move a washer and dryer correctly is something most people don't figure out until moving day, when they're standing in a laundry room with two appliances that together weigh over 300 pounds, hoses still attached to the wall, and a doorway that barely clears the machine's depth. A washer and dryer look uncomplicated — they're boxy, they sit on the floor, and they don't have drawers or shelves to remove. But laundry appliances are among the most hazardous items to move in any home. They're dense, they have no comfortable grip points, their drum mechanisms are vulnerable to damage in transit, and disconnecting them incorrectly can cause water leaks, gas leaks, or a fried electrical connection at the new place.
Need a professional crew to handle the heavy lifting so your appliances arrive without damage? Call 224-404-0069 or get a free labor-only moving quote from Lift & Load today.
Why Moving a Washer and Dryer Is Harder Than It Looks
The first problem is sheer weight. A standard top-load washing machine typically weighs between 120 and 180 pounds. A front-load washer, with its heavier drum and door assembly, can push 200 pounds or more. Dryers are somewhat lighter — usually 100 to 150 pounds — but they're equally awkward. Neither appliance has handles designed for carrying. The sides are smooth sheet metal. The top is often a flat panel or a control surface that shouldn't bear weight. The back is covered in hose connections and a power cord that get in the way of any rear grip.
The second problem is the connection system. A washing machine connects to your home through two water supply hoses (hot and cold), a drain hose, and a 120V or 240V power cord. A gas dryer connects through a rigid or flexible gas line — a connection that needs to be capped correctly after disconnection or it becomes a serious safety hazard. An electric dryer typically runs on a 240V outlet with a four-prong cord. Disconnect anything in the wrong order, without the right tools, and you create a problem that no amount of careful carrying will fix.
The third problem is the washing machine drum. Front-load washers in particular have a drum that's suspended on springs and shock absorbers designed for a stationary appliance. When you tip or carry a washing machine without re-inserting the shipping bolts — the transit locks that secure the drum during shipment — the drum swings freely inside the casing. In transit, that free-swinging drum can slam against the outer tub wall hard enough to bend the suspension rods, damage the bearings, or crack the drum itself. This kind of internal damage is not always visible from the outside, but it shows up the first time you run a load and the machine shakes itself across the floor.
Step 1: Disconnect the Washing Machine Correctly
Start the disconnection process at least 24 hours before the move if possible. The washing machine needs time to drain any residual water from the pump and hoses — water that won't be obvious until it pours across the floor of the moving truck or your new laundry room.
Water Supply Hoses
Turn off the hot and cold water supply valves behind the machine. These are usually red (hot) and blue (cold) shutoff valves on the wall. Turn them clockwise until they stop. Then run the washer on a quick rinse cycle with no clothes inside — this flushes most of the water out of the internal hoses and drum before you disconnect.
Once the cycle finishes, disconnect the supply hoses from the back of the machine using a pair of pliers or a crescent wrench. Have a towel and a bucket ready — even after draining, there will be residual water in the hoses. Disconnect the drain hose from the standpipe or utility sink. Let it drain fully into the bucket before removing it. Bundle all hoses together with a rubber band or zip tie and label them clearly.
Shipping Bolts: Don't Skip This Step
If you have a front-load washer, locate the shipping bolts. They're typically stored in a small bag that came with the machine, or taped to the back panel. If you no longer have them, check the manufacturer's website or a hardware store — many sell replacement transit bolts by model number. Inserting these bolts before moving is not optional. Without them, you risk significant drum damage that may not be covered under any warranty once the machine has been moved.
Step 2: Disconnect the Dryer Correctly
Dryer disconnection depends entirely on whether you have a gas dryer or an electric dryer. Confusing the two processes — or skipping steps — is how people create dangerous situations on moving day.
Electric Dryer Disconnection
Unplug the dryer's power cord from the 240V outlet. Do not yank the cord by the wire — grip the plug head and pull straight out. If the outlet is in an awkward location behind the machine, you may need to slide the dryer forward slightly to access it. Once unplugged, disconnect the dryer vent hose from the back of the machine. This is usually a flexible aluminum duct secured with a hose clamp or a friction fit. Loosen the clamp with a screwdriver and slide the vent hose free. Shake out any lint that's accumulated in the duct — this is good general maintenance and prevents a fire hazard at the new location.
Gas Dryer Disconnection
If you have a gas dryer, the safest approach is to have a licensed plumber or appliance technician disconnect the gas line before moving day. Gas line disconnection is not a DIY task for anyone who hasn't done it before. If you choose to do it yourself, turn off the gas supply valve at the shutoff behind the dryer first. Use two wrenches — one to hold the fitting steady, one to turn the connector — to unthread the flexible gas connector from the dryer's inlet. Once disconnected, cap the gas line immediately with an approved cap fitting. Do not leave an open gas line uncapped for any reason.
Step 3: Protect the Floors and Prepare to Move
Before you move anything, protect the floor. Washing machines and dryers sit in one place for years, and the feet can leave rust rings or suction marks on tile, vinyl, or hardwood. Sliding a 160-pound appliance across an unprotected floor without care will scratch or gouge the surface in a straight line from the laundry room to the front door.
Place moving blankets or furniture sliders under the feet of each appliance before attempting to move them. A two-wheel appliance dolly — not a standard flat platform dolly — is the right tool for this job. An appliance dolly has a vertical frame, a rubber-padded toe plate, and a securing strap. Tilt the machine back onto the dolly, strap it at chest height, and keep the machine tilted slightly into the dolly frame as you move it. Never attempt to carry a washer or dryer by hand over any distance greater than a few feet — the weight and lack of grip points make this a back injury waiting to happen.
Navigating Stairs and Doorways
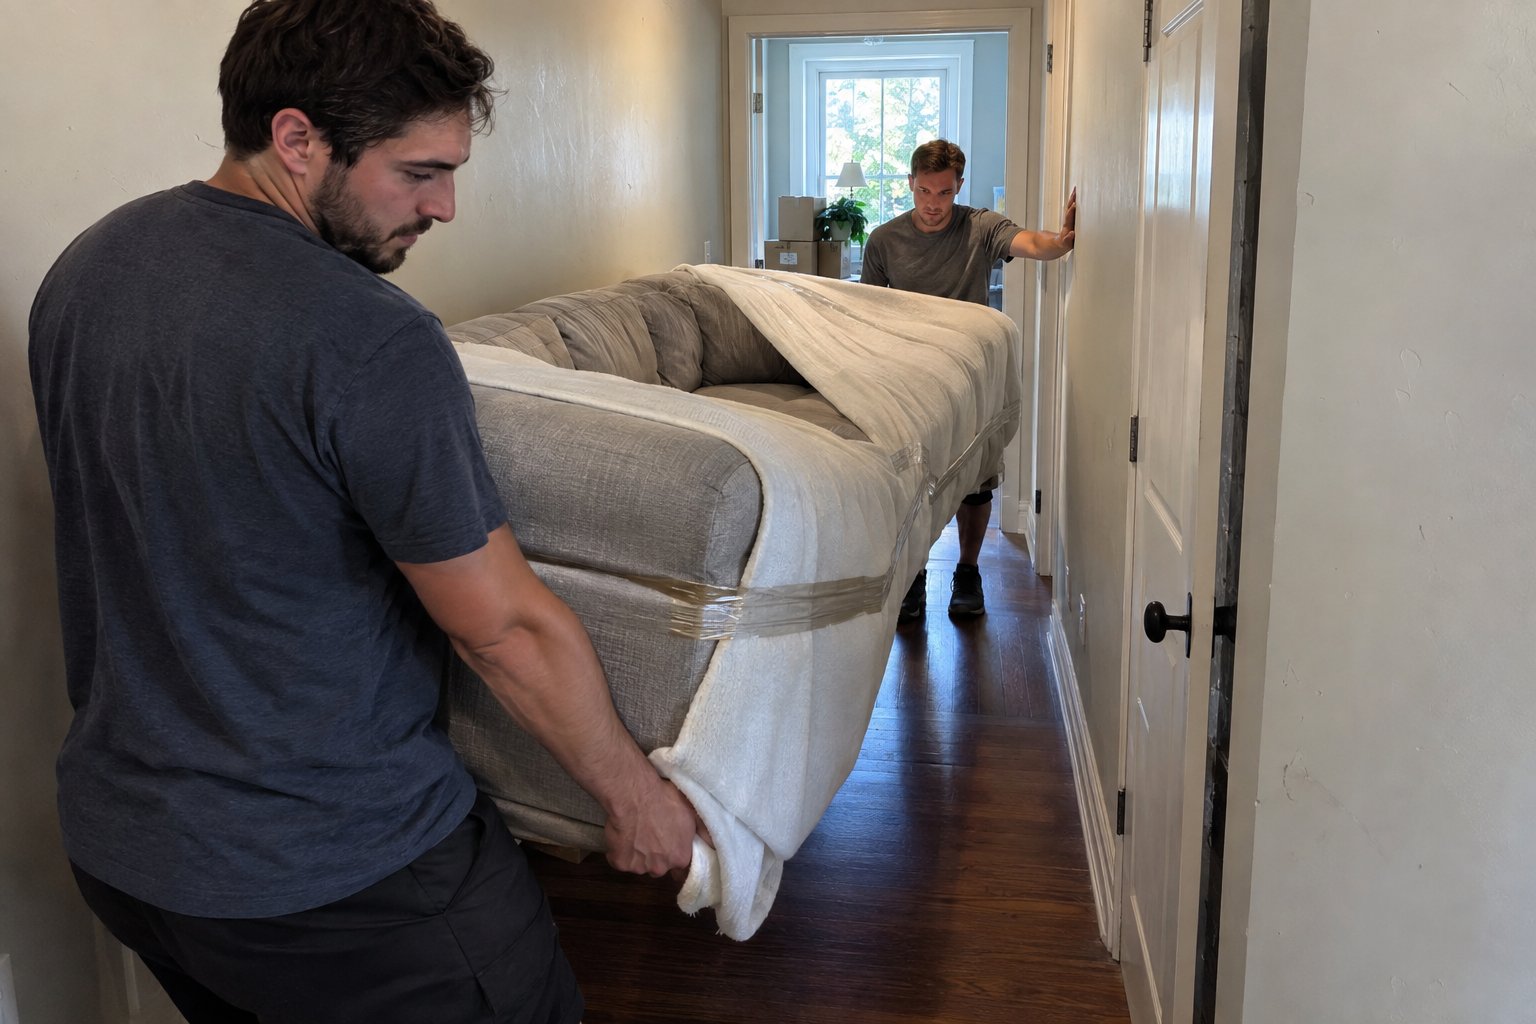
If your laundry room is on an upper floor or requires stair navigation, the appliance dolly approach changes. On stairs, the person at the bottom controls the descent — they're bearing most of the weight and guiding the direction. The person at the top stabilizes and prevents the machine from tipping forward. Go one stair at a time. Do not rush. Appliances on stairs are one of the most common sources of serious injury on moving day — a machine that starts sliding on a staircase is nearly impossible to stop.
For tight doorways, measure the appliance depth before you commit to a path. A standard washer or dryer is typically 27 to 30 inches wide and 27 to 33 inches deep. A standard interior doorway is 32 to 36 inches wide. You usually have enough clearance, but the appliance dolly adds width — factor in the dolly frame when planning your route.
Step 4: Load, Secure, and Transport Safely
In a moving truck, washers and dryers should be loaded against the cab wall — the front of the truck — and positioned upright. Never transport a washing machine on its side or back. Laying a washer down allows residual water to seep into the drum motor, the control panel, or the electrical components. Even a small amount of water in the wrong place can cause a short or corrosion that fails weeks after the move.
Once positioned, secure each appliance with moving straps anchored to the truck's wall rails. The strap should cross the machine at mid-height and be tight enough to prevent any rocking in transit. Pad the sides of each appliance with moving blankets to prevent contact with other items in the load — sheet metal dents easily, and control panel faces scratch permanently against anything with a hard edge.
At the destination, reverse the process: dolly in, position carefully, reconnect in the correct order (water supply last, after confirming drain and leveling), and run a short test cycle before walking away. A washing machine that isn't level will vibrate aggressively, walk across the floor, and — if left unchecked — wear out its drum bearings prematurely.
Moving a washer and dryer the right way takes preparation, the right equipment, and a second person who knows what they're doing. If any part of this process feels outside your comfort zone — particularly gas line disconnection or stair navigation — get a labor-only moving quote from Lift & Load and let an experienced crew handle it safely.


FAQs
Yes — and you should do it well in advance of moving day. Run a short rinse cycle with no clothes to flush out the drum, then disconnect the drain hose and let it empty fully into a bucket. Residual water left in the pump or hoses will spill during transport, potentially damaging the machine's electronics, soaking the moving truck floor, or leaking into your new home.
Shipping bolts (also called transit bolts) are threaded rods that lock the washing machine drum in place during transport. Front-load washers have a suspended drum held by springs and shock absorbers — without the bolts inserted, the drum swings freely and can slam against the outer tub during a move, damaging the bearings, suspension rods, or drum itself. This damage is often not visible from the outside but causes severe vibration and noise once the machine is in use. If you've lost the original bolts, check the manufacturer's website for replacement part numbers.
Gas dryer disconnection is something many homeowners handle themselves, but it requires care, the right tools, and a gas shutoff cap. If you're not comfortable working around gas lines, or if you can't locate the shutoff valve, hire a licensed plumber or appliance technician to disconnect it before moving day — this is not a step to improvise. Once disconnected, the gas line must be capped immediately with an approved fitting and the connection should be checked for leaks when reconnected at the new location.
A two-wheel appliance dolly is the correct tool — not a flat platform dolly. An appliance dolly has a vertical frame with a rubber-padded toe plate and a securing strap designed to hold a tall, heavy appliance at mid-height. Tilt the machine back onto the dolly, secure the strap, and keep the appliance slightly tilted into the dolly frame as you move. Attempting to carry a washer or dryer by hand over any real distance is a reliable way to injure your back or drop the machine.
A two-wheel appliance dolly is the correct tool — not a flat platform dolly. An appliance dolly has a vertical frame with a rubber-padded toe plate and a securing strap designed to hold a tall, heavy appliance at mid-height. Tilt the machine back onto the dolly, secure the strap, and keep the appliance slightly tilted into the dolly frame as you move. Attempting to carry a washer or dryer by hand over any real distance is a reliable way to injure your back or drop the machine.
Still have questions?
How to move with us?
Hit the “Get a Quote” button and tell us what you need.
Choose the service, date, and time that work best for you.
Our friendly team shows up on time and gets everything done safely.
Sit back while we take care of the rest.
.avif)